Troubled with the error 0x80080005 on Windows 10/11 and unable to download and install the update on your Windows 10 & 11 OS? Then here find out how to fix the Windows update errors.
To error 0x80080005 , we recommend Advanced System Repair:
This software is your one stop solution to fix Windows errors, protect you from malware, clean junks and optimize your PC for maximum performance in 3 easy steps:
- Download Advanaced System Repair rated Excellent on Trustpilot.
- Click Install & Scan Now to install & scan issues causing the PC problems.
- Next, click on Click Here to Fix All Issues Now to fix, clean, protect and optimize your PC effectively.
Updating the Windows system is necessary to make it more stable and secure. But the process is not always smooth as the users start encountering various errors during the update and the update gets stuck in between the error code like 0xc1900104, 0x80070422 & others
The error code 0x80080005 is another Window update error that appears when Windows fails to download or install the update, whereas in some cases the users are seeing the error while searching for the latest update and see the error message on their screen:
There were some problems installing updates, but we’ll try again later. if you keep seeing this and want to search the web or contact support for information, this may help: (0x80080005).
So, we are here with the list of verified solutions that worked for several users to solve the error. But before starting with the solutions learn the possible causes responsible for the error.
What Causes Error 0x80080005 on Windows 10/11?
- Third-Party Antivirus conflict – The antivirus program installed on the system might be conflicting with the update process and stop it from installing which results in showing the error.
- Unstable or poor internet – If your internet connection is slow or not running properly it start to halt the update process and you are likely to see the error message.
- Windows update components corruption – In the case when the Windows update components get corrupted it won’t install and show an error, so resetting the Windows update components may work for you.
- Corrupted System files – System files are essential to install the update properly. But if some of the update files get corrupted then it conflicts with the installation process and shows an error.
So, these are some of the common culprits why you are seeing the update error 0x80080005 error on Windows 10 & 11. Now follow the step-by-step instruction to fix the error and install the update.
How Do I Fix Windows 10 Update Error 0x80080005?
Fix 1: Disable Third-Party Antivirus
Most of the time antivirus programs work perfectly on the computer. But, when it comes to updating Windows, users run into several issues. Because it prevents users from downloading some of the update files and sometimes it even corrupts or deletes update files.
So, if you are experiencing the Windows 10 update error 0x80080005, then it might be because of the third-party antivirus installed on your computer. In this case, disable some of the features of the antivirus or completely disable the antivirus.
If it doesn’t help, then you need to uninstall the antivirus or switch to any other third-party antivirus program. In case, you don’t know about any other reliable antivirus tool, then I would recommend you try Spyhunter.
It is one of the most trusted and advanced malware detection tools. It supports many other features that Windows Defender or any other normal antivirus tool lacks.
Get Spyhunter to Keep Your PC Virus Free
After uninstalling the antivirus try to update your Windows and check if this resolved the update issue or not.
Fix 2: Run Windows Update Troubleshooter
Sometimes, minor glitches in your system can prevent you to download the latest updates. So, if you are facing the error code 0x80080005 on your Windows 10 PC, then you may try Windows inbuilt troubleshooter. For this, you need to follow these steps:
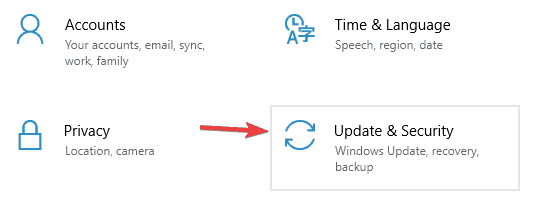
- Press the Windows + I key to open the Windows Settings.
- In the Windows Settings, click on the Update & Security.
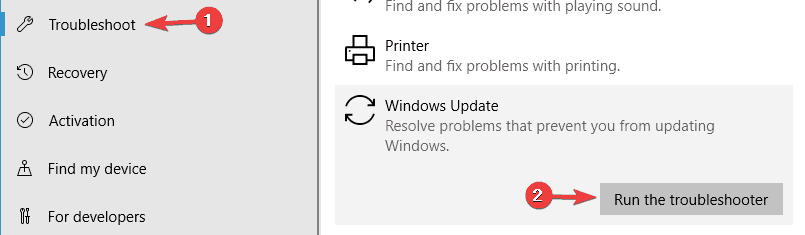
- Then click on the Troubleshoot located on the left side of the window.
- Go to the Windows Update section and click n the Run troubleshooter button.
- The troubleshooter will take some time to scan and detect the issue and will fix it automatically.
Once the troubleshooting is finished, check for the error and try to update the Windows again.
Fix 3: Repair Corrupted System Files
As said above the corrupted Windows system files also conflict with the update components and block them from installing. So, it is suggested to run the inbuilt System File Checker command and repair the corrupted system files.
Follow the steps to do so
- Press Windows + X key and from the list choose PowerShell with admin
- Now in the command prompt type sfc/scannow and hit Enter
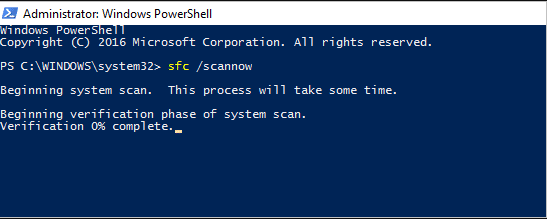
- Wait for the scanning to finish (minimum 15 min.)
And reboot your PC then try updating to see if the error is fixed.
Now if still seeing the error then try running the DISM scan as this is more powerful and capable to repair corrupted system files.
Run the DISM scan
- Launch Powershell as admin again and in the command prompt type the below-given command and hit Enter.
- DISM /Online /Cleanup-Image /RestoreHealth
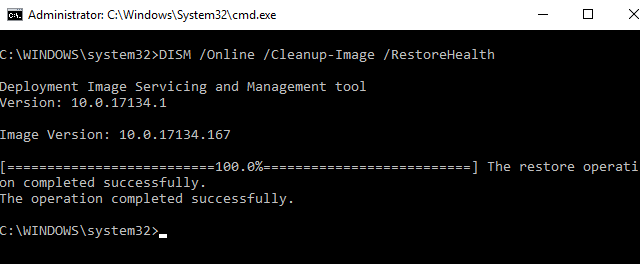
- Wait for the scanning process to finish (30 min.)
Now reboot your system and check if you are able to update Windows without seeing the error 0x80080005 or head to the next solution.
Fix 4: Take Complete Control Over System Volume Information Folder
According to many users, the error 0x80080005 appears when Windows not being able to access the System Volume Information folder for some reason. If this is the same case with you, then you can fix it with these simple steps:
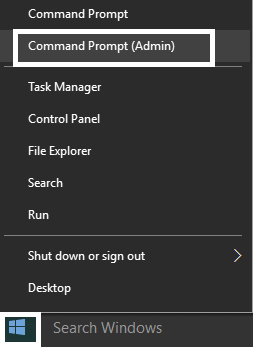
- First, you have to open the Command Prompt with admin privilege. For this, press Windows + X key and then select Command Prompt (admin).
- In the Command Prompt, type the given command and press the Enter key to execute it:
cmd.exe /c takeown /f”C:\\System Volume Information\\*” /R /D Y && icacls “C:\\System Volume Information\\*” /grant:R SYSTEM:F /T /C /L

- At last, reboot your PC/Computer.
With this command, you can take over full control over the System Volume Information folder and you will see the Windows update issue is resolved.
Fix 5: Turn Off Windows Update Service
Some users suggested that the Windows update service is blocking the update from installing and causing the error, so in this situation disabling the Windows Update service may work for you.
Follow the steps to do so:
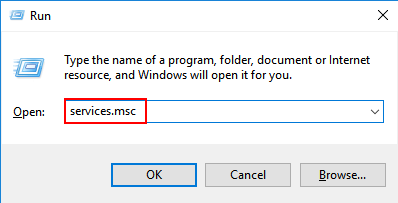
- Hit the Win + R key and in the Run box that appears type services.msc and hit OK
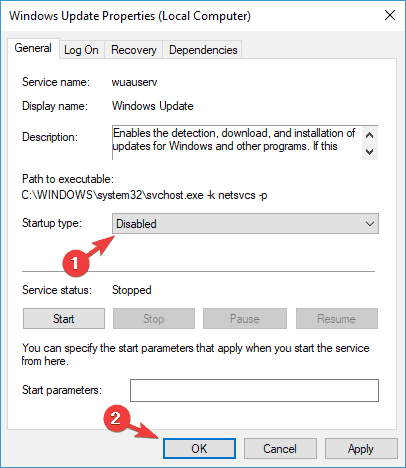
- Then in the Services window find the Windows Update service and double click on it and choose Properties
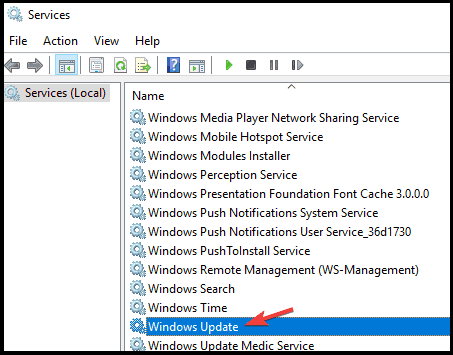
- When the Services window opens, locate the Windows Update service and double-click it to open its properties.
- Then click on the Startup type and choose Disabled and click on Apply and then Ok
- Reboot your Windows system
- And as the system starts, go to the Services window and launch Windows Update service properties then choose the Startup Type to Automatic, and launch the service
Fix 6: Reset Windows Update Components
If there is an issue with the Windows Update components, then you are much more likely to experience the update error 0x80080005. Hence, to fix it, you need to reset the Windows Update components manually.
- Press the Windows + X key then choose Command Prompt (Admin).

- On the Command Prompt run the following commands one by one and press the Enter key after each of them:
net stop bits
net stop wuauserv
net stop appidsvc
net stop cryptsvc
- Now, you have to delete the qmgr*.dat files, in order to do this you have to again open the Command Prompt and then run the below-given command
Del “%ALLUSERSPROFILE%\Application Data\Microsoft\Network\Downloader\qmgr*.dat”
- Again run the following command into the command prompt:
cd /d %windir%\system32

- After it, you have to reregister the BITS files and the necessary Windows Update files. To do this, run the below-given commands one by one by pressing the Enter key after each of the commands:
regsvr32.exe atl.dll
regsvr32.exe urlmon.dll
regsvr32.exe mshtml.dll
regsvr32.exe shdocvw.dll
regsvr32.exe browseui.dll
regsvr32.exe jscript.dll
regsvr32.exe vbscript.dll
regsvr32.exe scrrun.dll
regsvr32.exe msxml.dll
regsvr32.exe msxml3.dll
regsvr32.exe msxml6.dll
regsvr32.exe actxprxy.dll
regsvr32.exe softpub.dll
regsvr32.exe wintrust.dll
regsvr32.exe dssenh.dll
regsvr32.exe rsaenh.dll
regsvr32.exe gpkcsp.dll
regsvr32.exe sccbase.dll
regsvr32.exe slbcsp.dll
regsvr32.exe cryptdlg.dll
regsvr32.exe oleaut32.dll
regsvr32.exe ole32.dll
regsvr32.exe shell32.dll
regsvr32.exe initpki.dll
regsvr32.exe wuapi.dll
regsvr32.exe wuaueng.dll
regsvr32.exe wuaueng1.dll
regsvr32.exe wucltui.dll
regsvr32.exe wups.dll
regsvr32.exe wups2.dll
regsvr32.exe wuweb.dll
regsvr32.exe qmgr.dll
regsvr32.exe qmgrprxy.dll
regsvr32.exe wucltux.dll
regsvr32.exe muweb.dll
regsvr32.exe wuwebv.dll
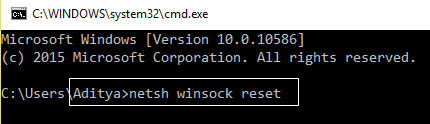
- Now, you have to reset the Winsock, to do this type and run the given command on the Command Prompt:
netsh winsock reset
- In order to reset the BITS and the Windows Update service to their default security descriptor, run the given commands one by one:
sc.exe sdset bits D:(A;;CCLCSWRPWPDTLOCRRC;;;SY)(A;;CCDCLCSWRPWPDTLOCRSDRCWDWO;;;BA)(A;;CCLCSWLOCRRC;;;AU)(A;;CCLCSWRPWPDTLOCRRC;;;PU)
sc.exe sdset wuauserv D:(A;;CCLCSWRPWPDTLOCRRC;;;SY)(A;;CCDCLCSWRPWPDTLOCRSDRCWDWO;;;BA)(A;;CCLCSWLOCRRC;;;AU)(A;;CCLCSWRPWPDTLOCRRC;;;PU)
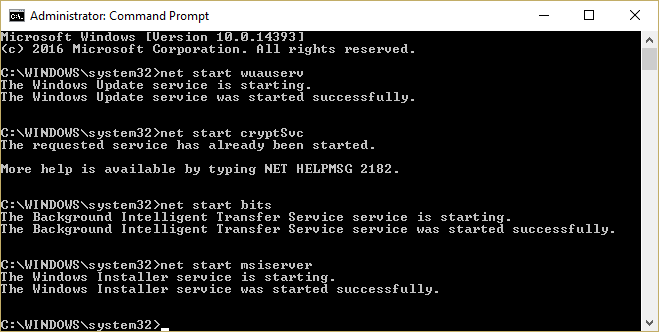
- At last, start the Windows update services:
net start bits
net start wuauserv
net start appidsvc
net start cryptsvc
After executing all these commands, all the necessary components required for the Windows update will be restarted and now you won’t face any error.
Fix 7: Restart BITS (Background Intelligent Transfer Service)
Windows Update depends on the Background Intelligent Transfer Service(BITS) as it uses BITS to download updates.
So, if the BITS is disabled or not running in the background of your system, then Windows will not be able to download the updates automatically and will result in the update error code 0x80080005.
If this is the case with you, then you need to restart the BITS on your system and for this, you can follow these steps:
- Press Windows + R key and type Control on the Run dialogue box, then click on the OK button.
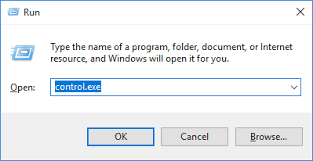
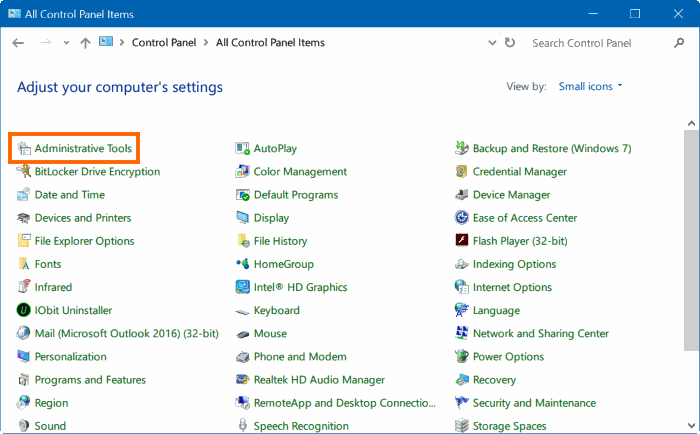
- In the Control Panel, click on the Category and select Small icons
![]()
- Go to the Administrative Tools.
- Then, click on the Services and search Background Intelligent Transfer Service from the list.
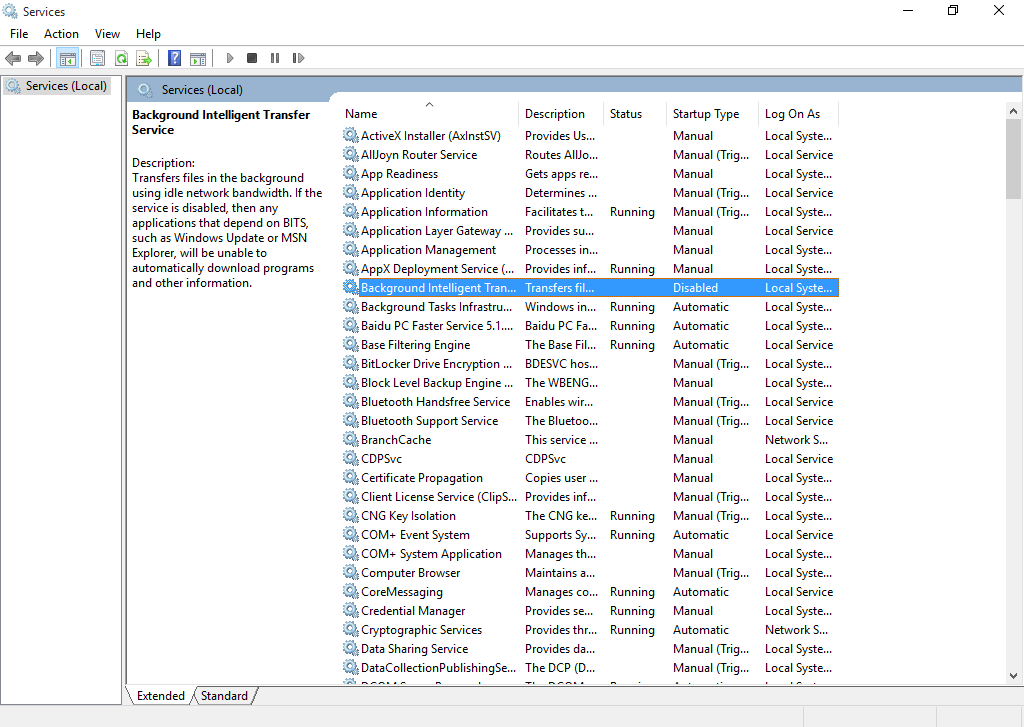
- After finding the BITS, right-click on it and choose Properties.
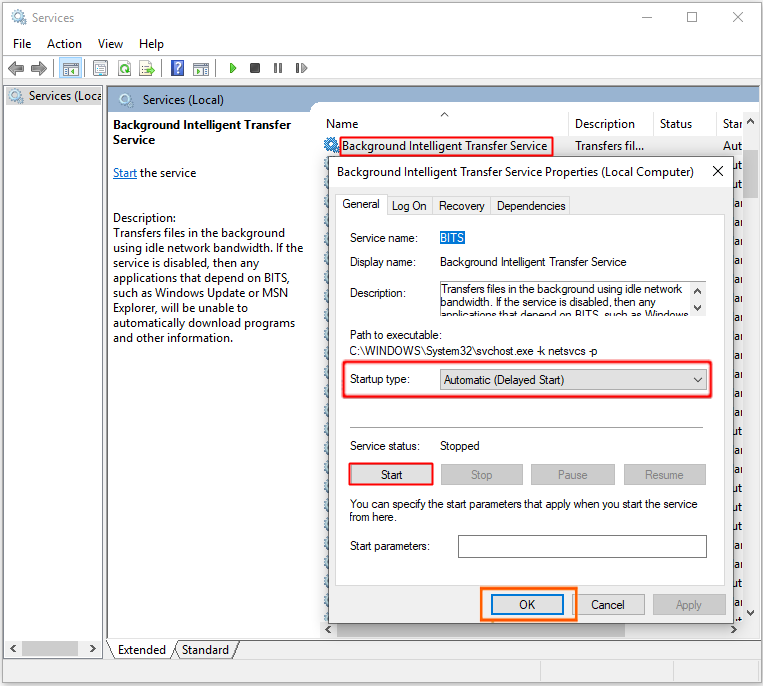
- Go to the General tab and then choose the Automatic (delayed start) as the type of Startup. After it, click on the Start button to run the service.
- Lastly, click on the OK button.
- In case, the service fails to execute properly, then you revert back to the general services option that contains a list of other services.
- Now, you have to open the windows event log and its properties. Then set the startup type to Automatic and go back to the BITS and click the start option.
It has been observed that Changing BITS Startup Type to Automatic has fixed the error code 0x80080005 for many users.
Fix 8: Manually Reset Security Descriptors of BITS Service
Another notably effective solution to fix the Windows update error code 0x80080005 is resetting the security descriptors of the BITS service manually. You can do this simply by following these steps:
- Open the Command Prompt with admin privilege as shown in the above method.

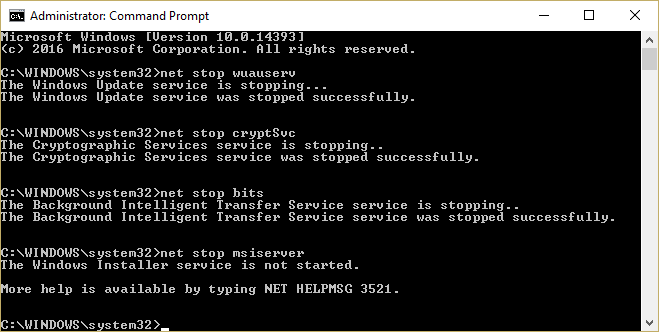
- After opening the Command Prompt, run the following commands one by one. In order to run them, you have to hit the Enter key after each of the commands.
net stop wuauserv
net stop cryptSvc
net stop bits
net stop msiserver
ren C:\Windows\SoftwareDistribution SoftwareDistribution.old
ren C:\Windows\System32\catroot2 catroot2.old
net start wuauserv
net start cryptSvc
net start bits
net start msiserver
pause
- At last, reboot your PC and check for the error.
Fix 9: Enable Some Settings Using Gpedit.Msc
Sometimes to fix the Windows update error, you need to enable some of the settings using the group editor and also need to make some changes in the group editor. For this, you need to do the following:
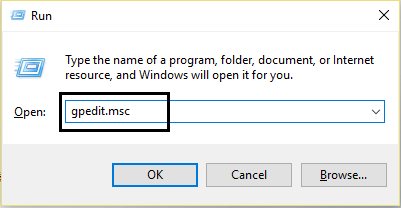
- Press the Window + R Key simultaneously to open the Run box.
- In the Run box, type gpedit.msc and press the Enter key.
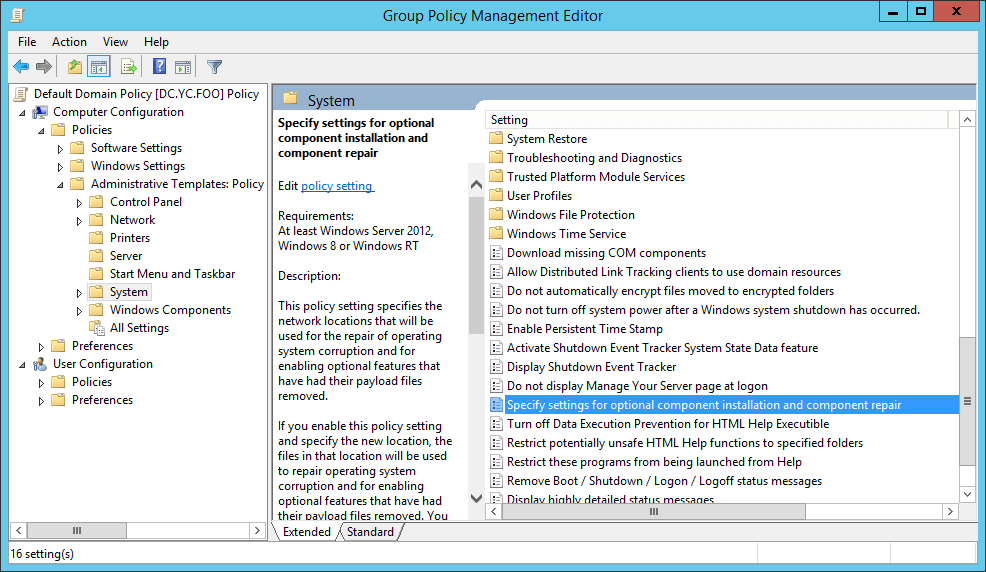
- This will open up a new window. Now, navigate to the following path:
Computer Configuration > Policies > Administrative Templates: Policy > System
- At the System, go to the right pane, and here you need to find the Specify settings for optional component installation and component repair.
- Now, double-click on it to open up a new window. Now, you have to verify that the Enabled and ‘Contact Windows Update directly’ are marked.
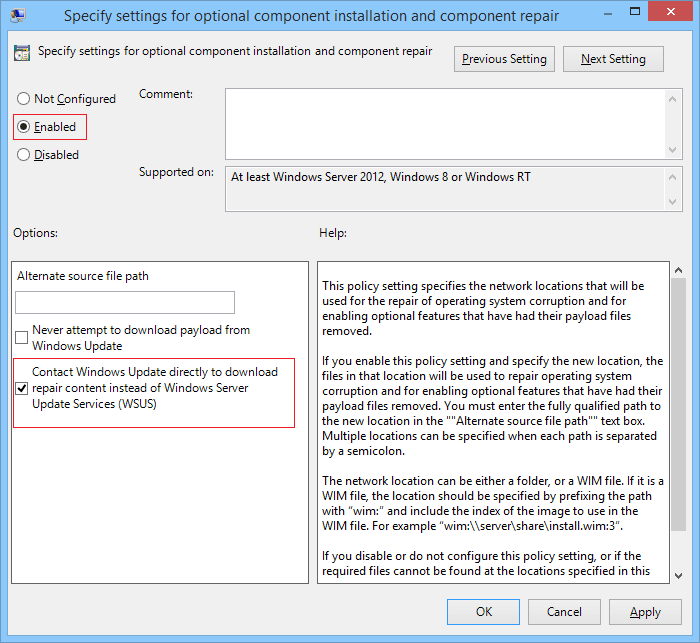
- Click on the Apply and OK button to save all the changes.
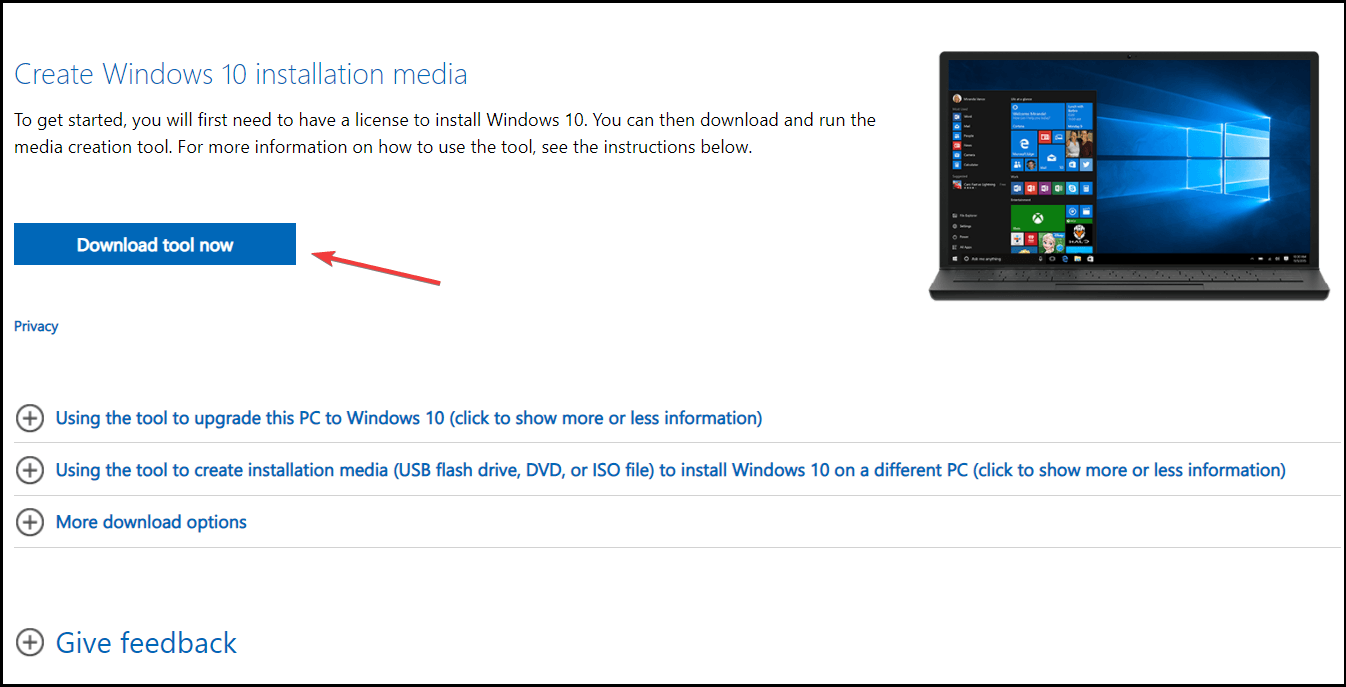
Fix 10: Utilize Media Creation Tool
If none of the above-given fixes works for you to fix the Windows update error 0x80080005 then it is suggested to try performing the clean install by saving the entire files, settings and apps using the Media Creation tool.
Once the installation process is finished, you’ll have the latest version of Windows installed, and the issue should be resolved.
- First, you need to download the Media Creation Tool.
- And as the Windows 10 gets downloaded, you need to accept the license agreement.
- Then run the tool and choose the option Upgrade this PC now.
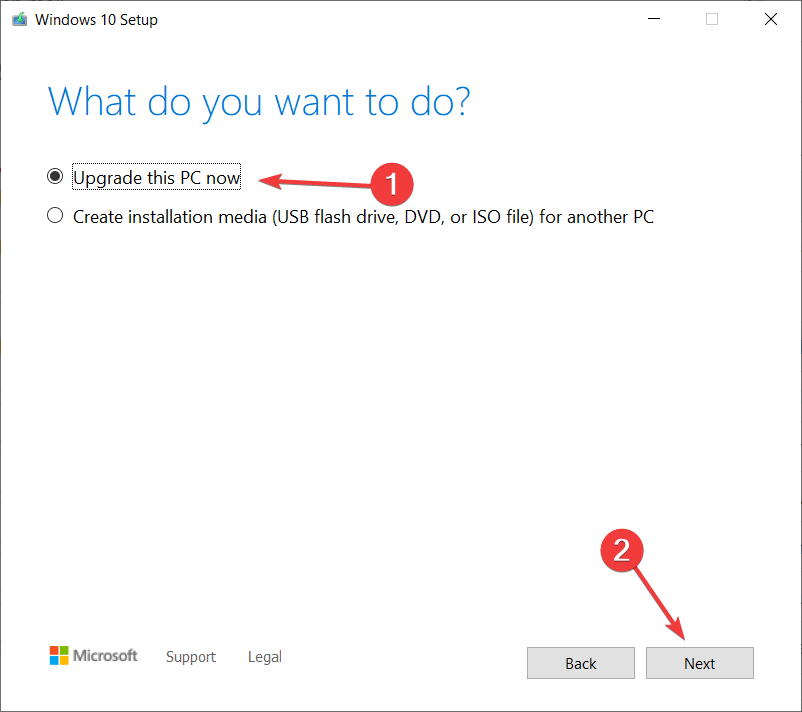
- Wait till the update downloads the entire necessary files.
- And follow the onscreen steps until you get into the Ready to install
- Then click on Change what to keep and choose the option Keep personal files and apps.
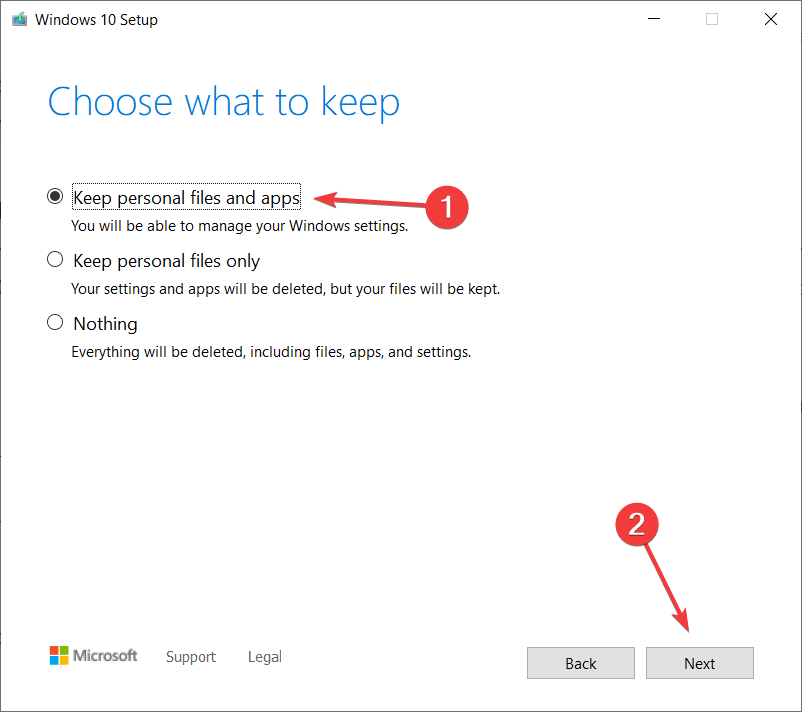
- Click on Next, you will see the installation process gets started, follow the instructions that appear on the screen to finish the process.
Hope now the Windows 10 update error 0x80080005 is resolved.
Best & Easy Solution to Fix Error 0x80080005
In some instances, manual solutions are not enough for fixing such update errors on Windows PC, and in this situation, it is best to scan your system with a professional recommended PC Repair Tool.
This is a highly advanced tool designed to resolve the common PC errors and issues, such as DLL, BSOD, game, registry, application errors, etc. Along with this, it also protects from file loss and keeps PC secure from viruses/malware.
Also, optimizes the PC to provide maximum performance and to make it run like a new one. So, what are you waiting for?
Get PC Repair Tool to Fix Windows Update Error 0x80080005
Conclusion
To sum up, in this article, I have introduced you to the Windows 10 update error 0x80080005, its causes, and its solutions.
These are the solutions one can take into account to fix the error 0x80080005 on your Windows 10 PC and start the update process on Windows 10 without facing any further issues.
I hope you liked this article and found these fixes helpful. If so, then share this article with the ones who are experiencing the same issue.
Above this, if you have any other queries regarding the ones presented here, then don’t hesitate to get in touch with us on our Facebook or Twitter page.
Hardeep has always been a Windows lover ever since she got her hands on her first Windows XP PC. She has always been enthusiastic about technological stuff, especially Artificial Intelligence (AI) computing. Before joining PC Error Fix, she worked as a freelancer and worked on numerous technical projects.