Error 0x80240017 is more usually found in Windows 8 and Windows 8.1 systems, it appears when a user installs or updates apps from Windows Store.
Till now there is no exact reason have been found behind the Error 0x80240017 in windows store. Below some methods are given to apply them carefully step by step to solve 0x80240017 error in Windows 8/8.1 and Windows 10 separately.
Methods to Fix Error 0x80240017
Windows 8/8.1
Method 1: Resetting Windows Store app.
- Press Windows + R key to open up Run Command.
- After it, type “wsreset.exe” and press Enter.
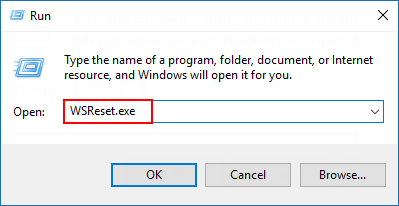
- Wait until the process is finished and it Windows Store will restart. After doing this try to install the app from the app store.
Method 2: Troubleshooting 0x80240017 using Windows Troubleshooter
- Open the search box and type Troubleshooting and select the first result.
- A New Window will open, now click on View all from the left pane.
- Click on the Windows Update present at the bottom of the window.
- You will see the Windows Update troubleshooter window, Click on NEXT. You may also have to provide an administrator password. The troubleshooter will automatically search for any types of issue and solve them if found any.
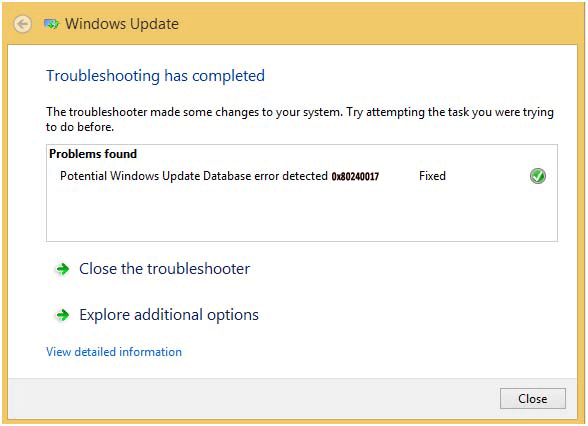
- After completion of this, close the window and try to download/install the app from the app store.
Check whether error 0x80240017 windows 8.1 is fixed or not.
Windows 10
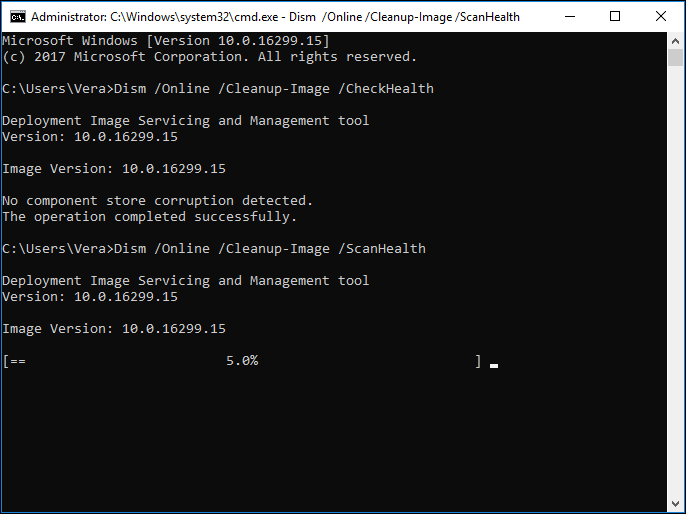
Method 1: Running System Update Readiness Command
- To do this you have to open CMD with Administrator privilege (click on the Start button > Command Prompt with Admin)
- After it, Type or Copy paste “DISM.exe /Online /Cleanup-image /Scanhealth” and press “Enter” key.
- Now again Type or Copy paste “DISM.exe /Online /Cleanup-image /Restorehealth” and press Enter key. Close the Command Prompt Window.
Method 2: Reset Windows Update Components Manually.
If you are unable to fix the issue by applying the above-given methods then this trick will help you.
- Open Command Prompt (click on the Start button > Command Prompt with Admin)
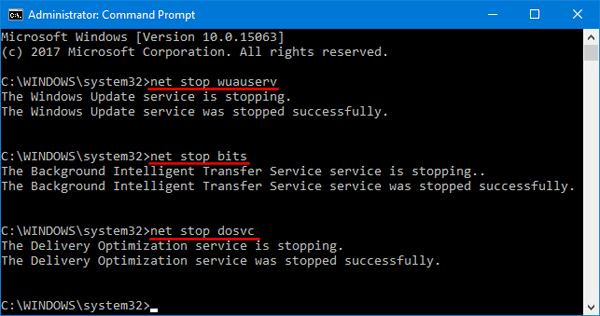
- After it, type the below-given Commands one by one and press enter key after each command.
net stop wuauserv
net stop cryptSvc
net stop bits
net stop msiserver
ren C:\Windows\SoftwareDistribution SoftwareDistribution.old
ren C:\Windows\System32\catroot2 Catroot2.old
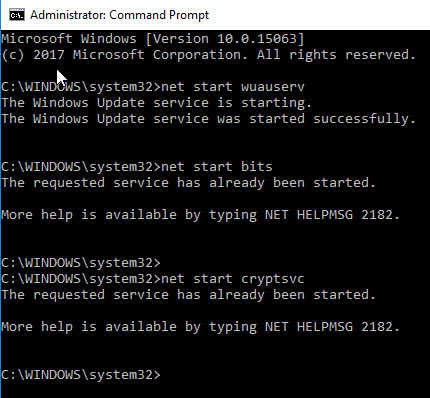
net start wuauserv
net start cryptSvc
net start bits
net start msiserver
- After the execution of all the commands, Close the Command Prompt and do a RESTART.
Method 3: Clear and reset Windows Store cache
- Restart your computer and log in with your admin account
- Click on the Desktop tile and then press the Windows and R key simultaneously to open the run box.
- Now, in the Run dialog box, type the WSReset.exe and press the Enter key
- Restart your system again and log in again
After rebooting your system, check that the error persists.
Method 4: Run SFC scan
Sometimes due to the corruption of certain system files, update issues and system errors may appear.
So, it is recommended to run a System File Checker scan. To do this, follow the below-given steps carefully to run SFC command:
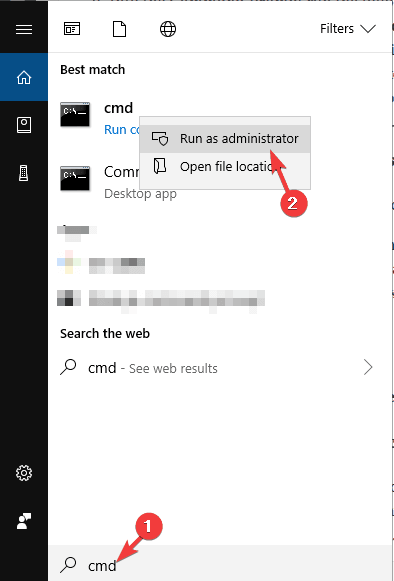
- Click on the Start menu and type ‘cmd’ then right-click on the Command Prompt (admin) and select Run Command Prompt as administrator
- After opening the command prompt with admin, you need to type the sfc /scannow command and press the Enter key.
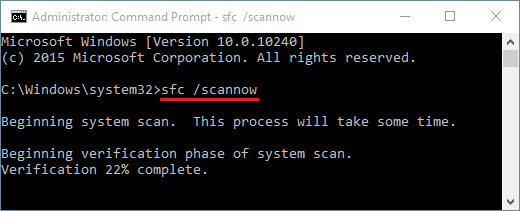
This process will take a few minutes to accomplish. Once get completed restart your computer.
Method 5: Reinstall the Windows Store app
In order to reinstall the Windows Store app, follow the below-given steps:
- Log out of the app and then, navigate to the Start > go to Apps & features > then type ‘store’ in the search box
- Choose the Windows Store app and then click on the Uninstall
- Reboot your computer and then reinstall the Windows Store app> log in.
After this process, verify if the issue is gone or not.
Method 6: Reset your PC
Before resetting your PC, it is recommended to create a backup of your files and folders first then proceed to the below-given steps.
- Navigate to the Settings > Update & Security and choose the Recovery feature
- Hereunder the “Refresh your PC without affecting your files” option, you have to choose the “Get Started” button.
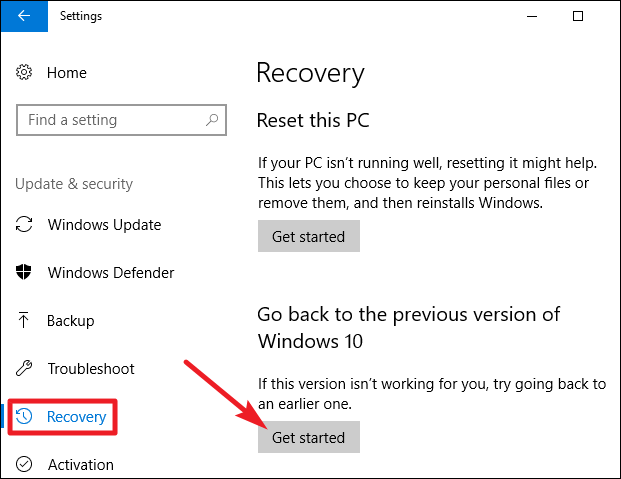
- After it, simply follow the on-screen instructions to complete the PC Reset process
Restart your Windows 10 system and then check to see if error 0x80240017 has been fixed or not.
Automatic Solution to Fix 0x80240017
After applying the above-mentioned fixes if your 0x80240017 error in Windows 8/8.1/10 is not solved then you need an alternative solution to fix such error. Try running PC Repair Tool, this is one of the best tools that automatically scan your PC and fix the error.
This Repairing tool fixes all kinds of PC related errors such as corrupt files, DLL error, application error, BSOD error, game error and more.
It will scan your PC or laptop by removing all types of junk files and enhancing the performances of your Operating system.
Get PC Repair Tool to Fix Various Errors and Issues Completely
Conclusion
Here my work is done and its time for you to start putting some effort in solving the 0x80240017 error in Windows.
Apply the manual methods one by one carefully to overcome error 0x80240017 and make your PC error-free to work as smooth as before.
Despite this, if you have any questions or any queries after going through the fixes provided then you can share it with us in the below-given comment section.
Hardeep has always been a Windows lover ever since she got her hands on her first Windows XP PC. She has always been enthusiastic about technological stuff, especially Artificial Intelligence (AI) computing. Before joining PC Error Fix, she worked as a freelancer and worked on numerous technical projects.