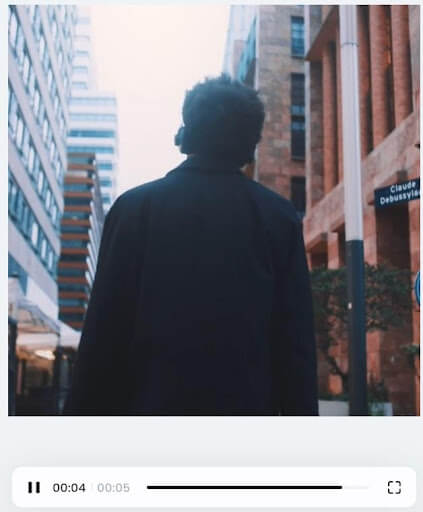
Nowadays, the trend toward using AI video stabilization is spreading rapidly because of lots of talk about it. Do you know how using this simple AI video stabilization tool can make huge changes to your videos? People who haven’t used this YouTube video editor yet, wonder if it works or if these are just talks. So, this article will help you analyze the real facts about using AI video stabilization for your videos. So, let’s start!
Top 5 Facts About Using Video Stabilization
To figure out if using a video stabilizer for high-end results is a fantasy or reality, read the below facts. They will help you identify the truths behind the growing success of this incredible tool.
Fact # 1: Convert shakiness to stability
The first fact about an AI video stabilization tool is that it effectively converts shakiness into stability. In simpler words, it detects all the unstable and shaky scenes in a video and turns them into smooth and stable footage. Hence, this incredible video editor plays a huge role in making the actual stabilization in your videos. It does so with the help of its AI-based algorithms and gyroscopic sensors.
Fact # 2: Convert blurs to clarity
The second fact is that a video stabilizer effectively and efficiently converts the blurs into clarity. Blurs are the most annoying and most common issue while recording videos. Especially, blurs offer more often when the objects or subjects in the recording are moving. As a result of their irregular movement, the lens of your camera loses its focus on a single item. Thus, the footage comes out with motion blur effects or a weak focus. Manual editors can’t effectively fix this issue but AI video stabilizer does this through using artificial intelligence.
Also Read: 7 Fixes 4k Videos Not Playing on Windows Media Player Legacy
Fact # 3: Fix distortions and defects
Just like blurs, distortions, and defects are also very common in videos that involve repeated movements or high-intensity activities. For example, suppose that you are making a video of your friend in which he is running. While recording such a video, distortions in a video may occur. To fix them, an AI-based video stabilizer is the best choice as it resolves video distortions as if they never existed.
Fact # 4: Boost visuals and quality
The fourth fact is that using a video stabilization tool dramatically boosts the visuals and improves quality. With poor visuals, shaky scenes, blurs, defects, and distortions, your video can’t be of great quality. All of these things combine to ruin the attractiveness and worth of a video. Even the presence of one of these issues makes the video look dull and lifeless. Therefore, a video stabilization tool specifically caters to all these areas and results in generating the ideally perfect videos. These resulting videos not only contain outstanding graphics and visuals but also meet quality standards.
Fact # 5: Turn hours of effort into seconds
Finally, it’s a fact that the use of an AI video stabilizer turns hours of effort into only a few seconds. When you use a manual video stabilizer, you need to put so much time and effort into getting the desired stabilization. Even after investing so much time and energy, the results disappoint you. In contrast, AI-based video stabilization removes all this hassle and automates the whole process. It only requires you to choose and upload a video to the editor and you’re all done. The editor itself applies the stabilization algorithms on the video to generate the transformation.

Steps to Use CapCut’s Video Stabilization
After knowing the facts, you must be craving to try out this mindblowing video stabilization tool. As it is not a fantasy but makes all these changes to a shaky video, let’s experience it yourself. Follow these simple steps one by one and see the magic happening through your eyes.
Step 1: Signup
First, click on the signup button on the CapCut website’s main page. If you are a returning user and have been using this editor before, simply click on the login. However, first-time visitors need to sign up for a free account and complete the verification for account activation. Then, use your login information to log in to this editor and jump to “Video stabilization” under the tools in the top menu bar.
Step 2: Upload
Choose any of your shaky video footage and drag it to the video stabilization editor’s page. You can also upload it here through your Cloud, Drive, or Dropbox. There are also a few sample videos that are free to use to check the editor.
Step 3: Preview
When you upload your video, the editor will begin making the changes to your video. Once the transformation is completed, you will see the stabilized video in the result. At this point, the editor allows you to use the preview button to compare the video with its original version.

Step 4: Export
After preview, the next step is to download your stabilized and quality-oriented video with enhanced aesthetics. Navigate to export > download to save this beautiful masterpiece video to your device.
Conclusion
The use of AI video stabilization is not only due to the excessive word of mouth talks about this tool. Instead, people are using it everywhere because of the actual and reality-based performance of it. No matter how shaky or disrupted quality videos you shoot, this video stabilization can fix them instantly. So, let’s step forward to turn your shaky videos into quality footage via this outstanding video stabilization online.
Hardeep has always been a Windows lover ever since she got her hands on her first Windows XP PC. She has always been enthusiastic about technological stuff, especially Artificial Intelligence (AI) computing. Before joining PC Error Fix, she worked as a freelancer and worked on numerous technical projects.