Internet connection is mandatory to browse, work online, or to do any other stuff. But what if you unable to connect your PC/Laptop to the internet and your system starts showing your “No Internet Access” error message?
Well, no need to panic just keep calm and go through this article as the solutions provided here will help you to easily deal with no internet access Windows 10 issue.
After updating Windows 10 system, when the user tries to connect their computer or laptop to the internet or access the internet in any way then they will face different scenarios such as No network access, wifi no internet, wireless network connection not connected, No wireless network connection, not internet access, etc…
There are several causes that can trigger this type of issue, according to some users they start receiving “No Internet Connection” after installing the latest Windows updates.
If you are facing any of the above-discussed scenarios then you need to fix no internet access Windows 10 error. Follow the given solutions one by one to make your PC/Laptop normal and enjoy the Internet connection on your Windows PC.
How To Fix No Internet Access Windows 10?
Note: Before fixing “No Internet Connection” it is recommended to create a system restore point and take a backup of your Windows registry. This will help you to deal with any unwanted situation.
Fix 1: Flush DNS and Reset TCP/IP
No internet access Windows 10 problem can be fixed by resetting the TCP/IP and flushing the DNS. The following are the steps that will solve the internet issue and get your Windows connected to the internet.
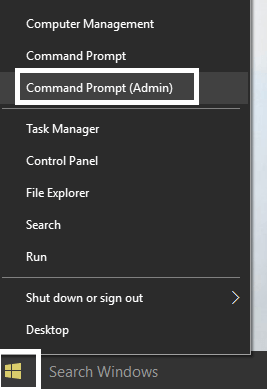
- First, you need to open the “Command Prompt with Admin privilege.” To do this, right-click on the Windows button and choose “Command Prompt (Admin)”
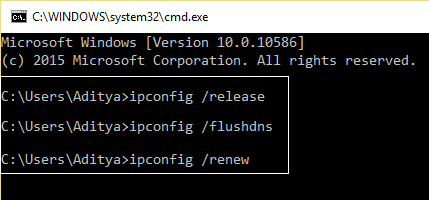
- After opening command prompt you need to type the following command and hit enter after each command:
ipconfig /release
ipconfig /flushdns
ipconfig /renew
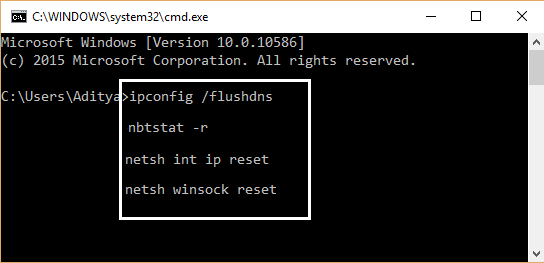
- Now, you need to run the below-given command and press Enter key after each one:
ipconfig /flushdns
nbtstat –r
netsh int ip reset
netsh winsock reset
- Restart your PC to apply the changes.
After flushing DNS you will see that No Internet Connection issue gets fixes and you can now enjoy your internet connection.
Fix 2: Use Network Troubleshooter
Troubleshoot the Windows 10 no internet access error with the network troubleshooter in Windows 10. Below are the steps to proceed for performing network troubleshooter.
- Click on Windows icon
- Go to settings
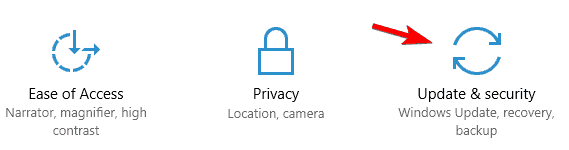
- Select Update & security section
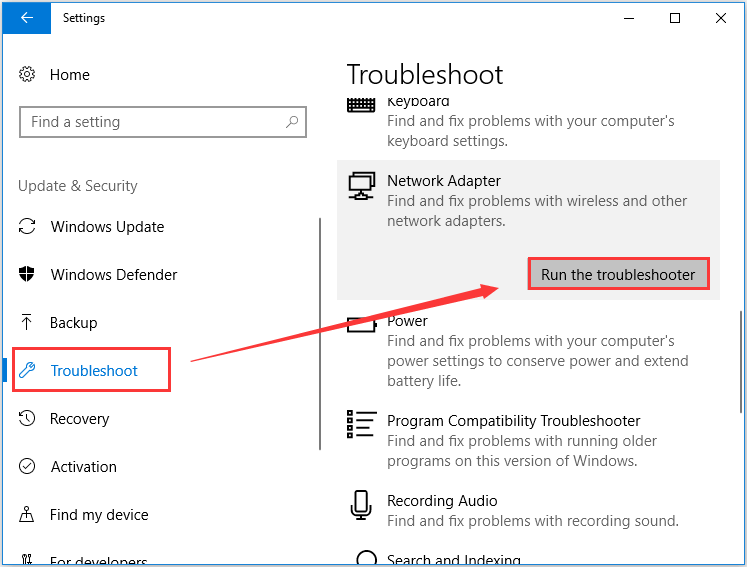
- Click on Troubleshoot
- Scroll down and look for Network Adapter
- Select it and click on Run the Troubleshooter
Now, wait while the troubleshooting process is going on. Once the process is completed you will get to know the reason behind no internet access Windows 10 by displaying the report and then solve the issue.
Fix 3: Turn off and then on Network Connection
This is one of the simple solutions that will connect the internet to your Windows and fix no internet access Windows 10. You just have to turn off and then turn on the network connection. Follow the below steps to do so:
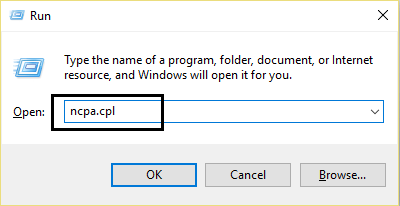
- Open run dialogue box (Windows Key + R)
- Type ncpa.cpl in the Run box and hit Enter. This will open up the Network window.
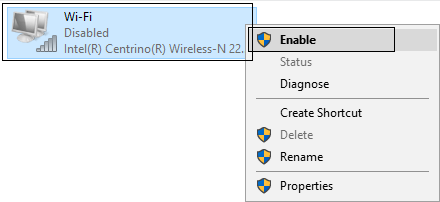
- Right-click on the wireless adapter and choose Disable.
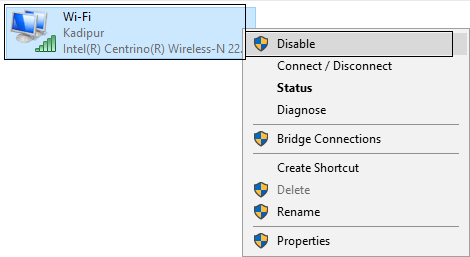
- After turning the Wireless adapter off, now you need to turn it on again. Right-click on the adapter and this time select Enable.
- At last, reboot your PC and again try to connect to your wireless network.
After turning the network connection on and off, you are able to connect the internet on your Windows 10 without any trouble.
Fix 4: Disable Power Saving for Wireless Adapter
To fix no internet access Windows 10 error you can also try to disable the power-saving mode for the wireless adapter. Go through the steps provided below to disable power saving.
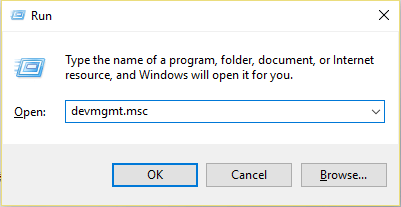
- Again open Run dialogue box by pressing Windows Key + R and in the box type devmgmt.msc and press Enter key.
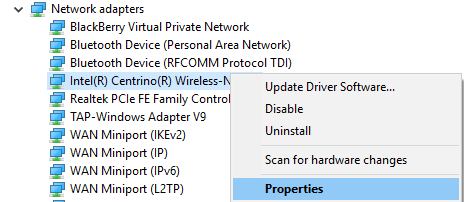
- Click on the Network adapters to expand its option. After it right-clicks on the installed network adapter and chooses Properties.
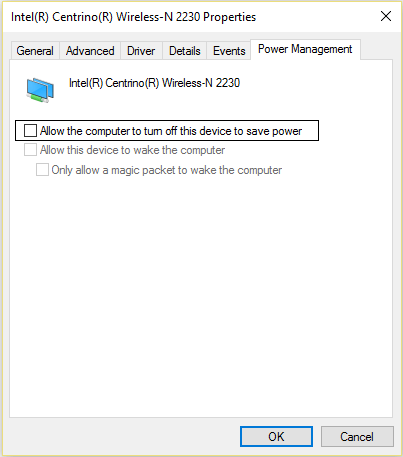
- Go to the Power Management Tab and uncheck“Allow the computer to turn off this device to save power” option. Click Ok and exit from the Device Manager.
- After that, press Windows + I keys to open the Settings option then Click System > Power & Sleep.
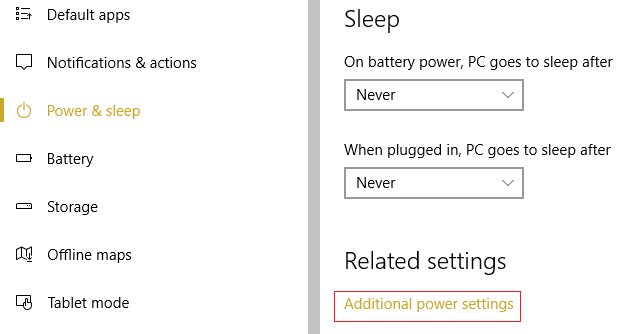
- On the bottom click Additional power settings.
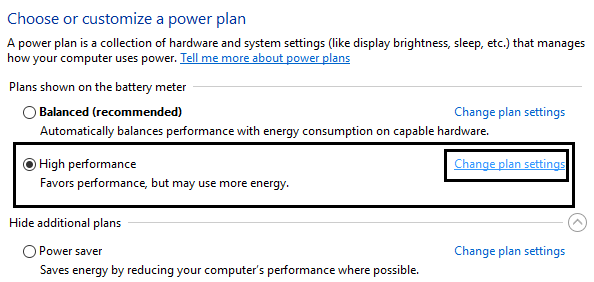
- Click on the “Change plan settings” option available next to the power plan.
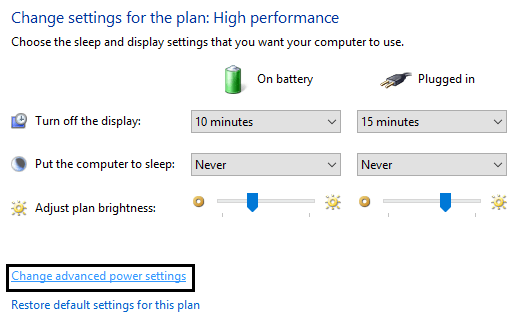
- Now, click on the “Change advanced power settings” option present at the bottom.
- Click on the Wireless Adapter Settings, to expand its option and then again expand Power Saving Mode.
- Now, here you will find two modes, ‘On battery’ and ‘Plugged in.’ set both of them to Maximum Performance.
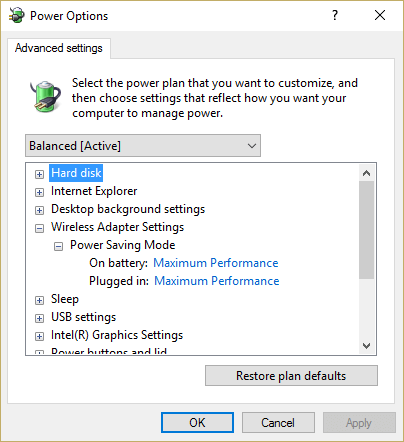
- Click on the on and then Apply. Reboot your PC.
After performing the steps and disabling the power saving, you can easily connect the internet on your Windows 10 and this time internet will access properly without troubling you.
Fix 5: Update the Network Adapter Driver
Updating network Adapter Driver you can fix the internal issues of your system. In order to update this specific system driver, you can either go with the manual or the automatic way.
Follow the steps for manual updating driver:
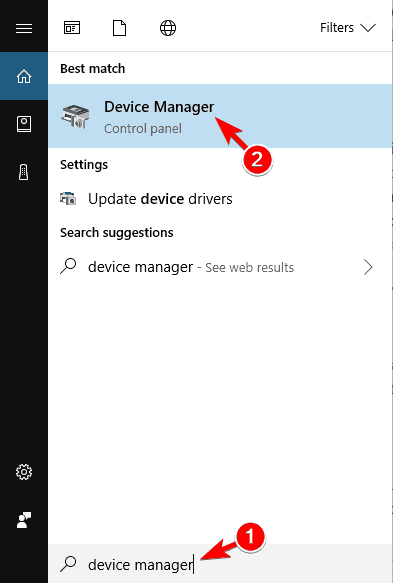
- Press the Windows logo
- Type Device manager and hit the enter key
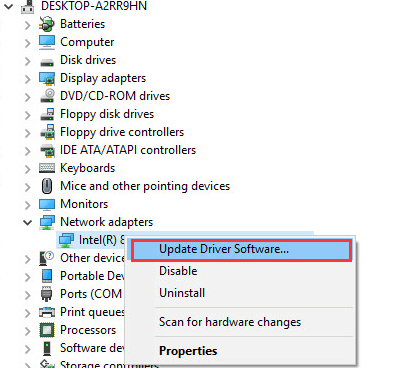
- Click on the network adapter to expand the category, right-click on the driver and click on the update driver software
- In the next window, select search for automatically updated driver software
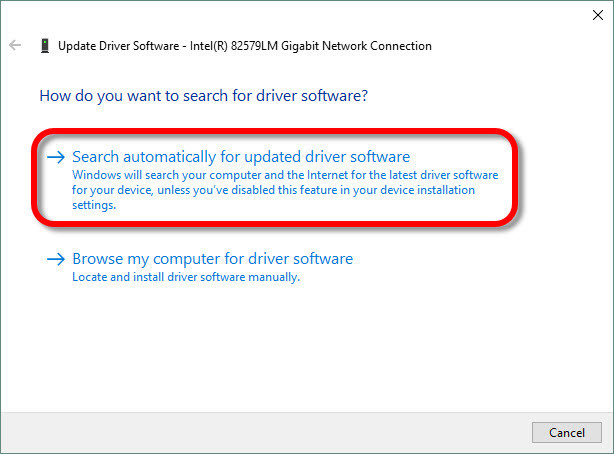
This will begin searching for the latest driver version to install and after that, you can update the driver by installing the new version of the network adapter
Apart from this. try Driver Updater. This will update the driver as well as solve other driver-related problems easily.
Get Driver Updater to Update the Drivers Automatically
Fix 6: Uninstall Network Adapter Driver
Uninstalling the network adapter driver can also help you in solving the Windows 10 no internet access issue. To do this follow the steps given below:
- Press Windows + R key
- Type “devmgmt.msc” and press the Enter key.
- Click on the Network Adaptor to expand its option and then right-click on the Wireless Network Adaptor and choose Uninstall.
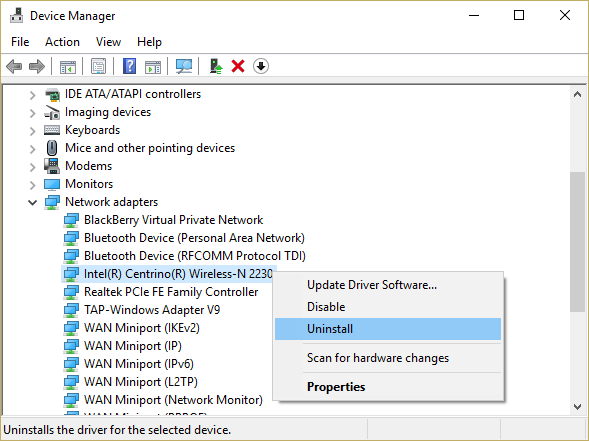
- If any confirmation window will appear then choose Yes.
Restart your PC to save all the modifications and then try to reconnect your Wireless. This time you can easily get connected to the internet without any problem.
Fix 7: Run Windows 10 Network Reset feature
Network reset feature in Windows 10 will surely work out to fix no internet access Windows 10 problem in case none of the above solutions connected your Windows with the internet.
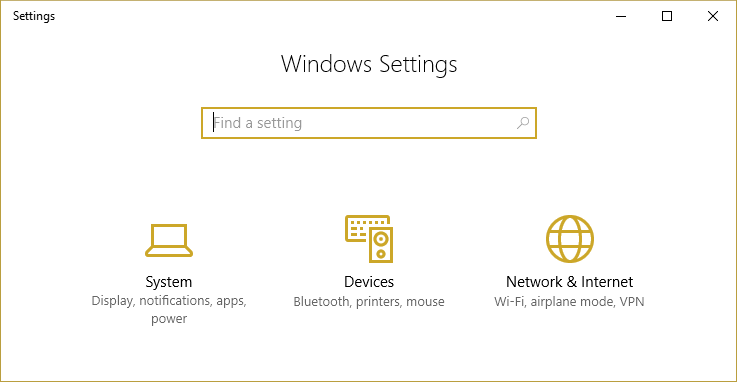
- Open the settings of your system, you can do this by pressing Windows Key + I. After opening settings click on the Network & Internet.
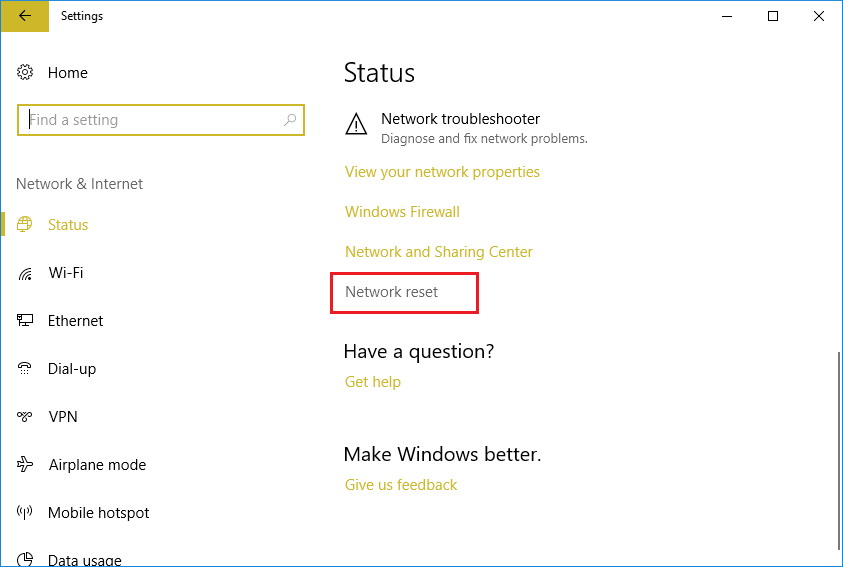
- Click on the Status present in the left window pane.
- Now, scroll down and click on Network Reset.
- Another window will appear, click on the Reset now option.
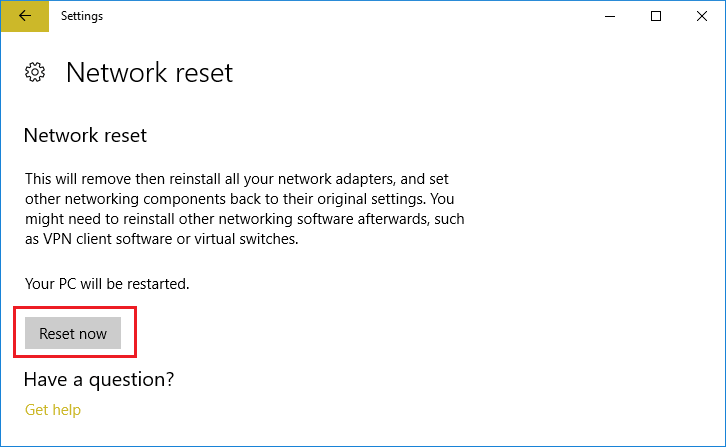
- If any confirmation message appears then choose Yes.
- Reboot your PC to save all the modifications.
Now, try to connect the internet to your Windows 10 and see if the no internet access error vanishes or not.
FAQ
Recommended Solution- Make your Windows PC Error-Free
To keep your Windows PC away from errors you need to scan it on a regular basis. There are numerous errors that can surround your Windows and some errors are so stubborn that they not solved with manual solutions and make the performance of PC slow.
Try the PC Repair Tool. This is an amazing tool designed by professionals to get rid of all the errors that slow down the PC. Errors that occur on Windows such as DLL, BSOD, registry, update error, browser error & many others are easily fixed with this tool.
You just have to download this tool, it will automatically scan your entire PC, detects all the errors & issues, and solves them without any hassle. This tool also repairs damaged or inaccessible system files prevents viruses, and much more in just a few clicks.
Get PC Repair Tool to Make Your Windows PC Error-Free
Conclusion
All the above-mentioned solutions will help you to fix No Internet Access error in Windows 10. No matter why your PC is showing No Internet Access error message, simply follow the given fixes one by one to make your PC normal.
I hope the workarounds connected your Windows 10 with the internet. In case you encounter slow internet in Windows then you can get the fixes to solve it as well and browser as much as you want without the internet getting disconnected.
Well, I expected that you liked this article and it turns out to be useful in resolving all your queries. If you have any questions to ask or suggestions then simply visit our Facebook page and write to us.
Hardeep has always been a Windows lover ever since she got her hands on her first Windows XP PC. She has always been enthusiastic about technological stuff, especially Artificial Intelligence (AI) computing. Before joining PC Error Fix, she worked as a freelancer and worked on numerous technical projects.