Windows 10 comes with lots of functions and features it and one of its functions is known as the Hosted Network. With the help of this option, one can turn the Windows 10 PC into a wireless hotspot.
Are you surprised to hear that there can be a wireless hotspot? If you always want to turn your Windows 10 PC/Laptop into a wireless hotspot then this article is perfect for you.
Here you will not only get to make your system virtual Wi-Fi but also can create a wireless hosted network.
Go through this article to view full information about Hosted Network in Windows 10.
What is a Hosted Network?
Windows 10 allows users to share their internet connection with other devices with a feature called “Hosted Network“. Hosted Network is a feature that comes with the Netsh (Network Shell) command-line utility.
This allows users to create a virtual wireless adapter in their operating system, which Microsoft refers to as “Virtual Wi-Fi” and creating SoftAP a wireless software access point.
How to Know Hosted Network Support Windows 10?
Some adapters support hosted network but you need to verify your PC/Laptop adapters support this feature by the below-given command:
NETSH WLAN show drivers
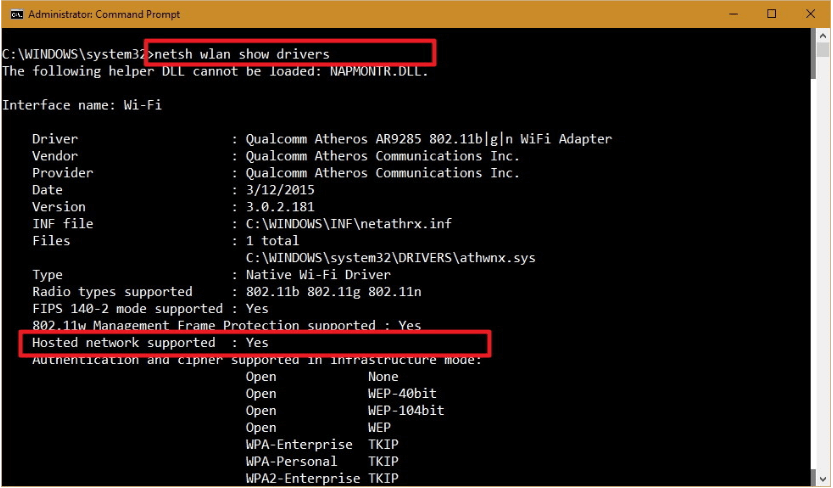
If the output displays Hosted network supported: Yes, then you can connect other devices to your Windows 10 making a wireless hotspot.
How to Create a Wireless Hosted Network?
If your PC is not supporting hosted network then you can use a USB wireless adapter that supports this feature. Follow the steps to create a wireless hosted network:
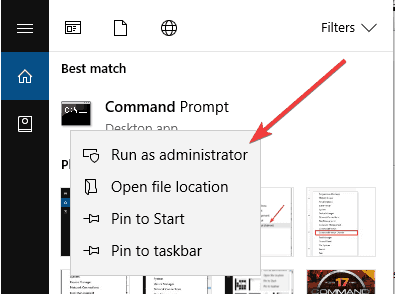
- Click on the Windows icon and type cmd
- Right-click on “cmd” and select Run as administrator
- In the command prompt type, the following command:
NETSH WLAN set hostednetwork mode=allow ssid=Your_SSID key=Your_Passphrase
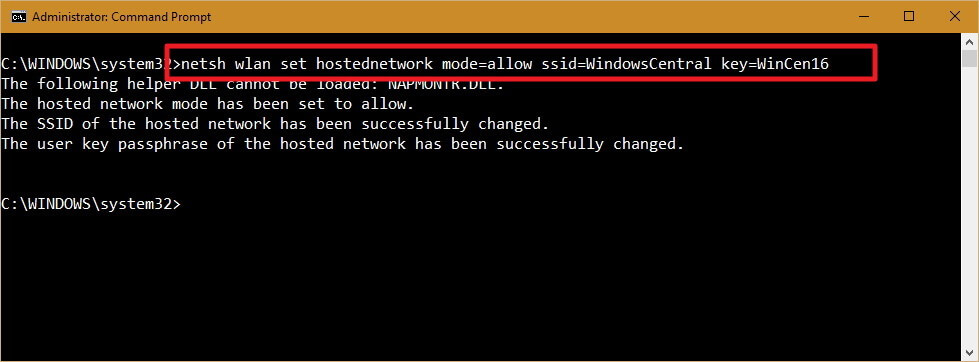
- SSID– to identify the wireless network whenever you try to connect a new device
- Passphrase- Network security that users needed to connect to your network
- Once the hosted network is created type the command given below to activate it:
NETSH WLAN start hostednetwork
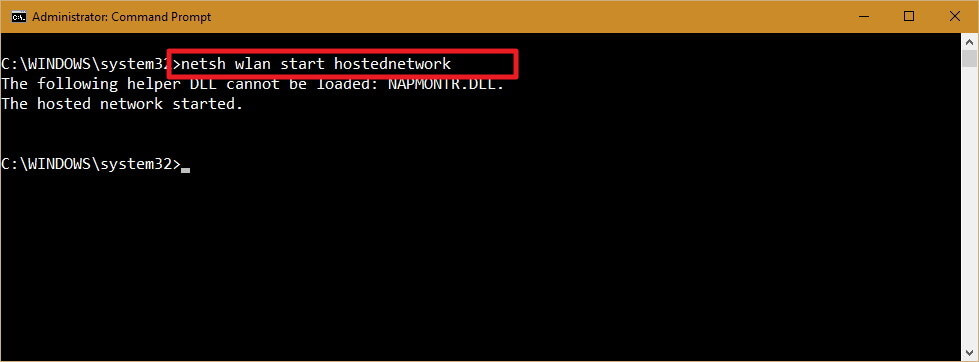
After doing this your PC will support the hosted network.
How to Enable Wireless Hosted on Windows 10?
Though Hosted network comes enabled by default in Windows 10 but if it isn’t enabled in yours then you can follow the steps given below to enable it:
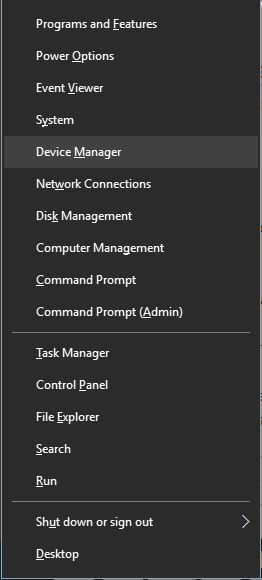
- Press Windows + X and select the Device Manager
- Go to View and check the Show hidden devices.
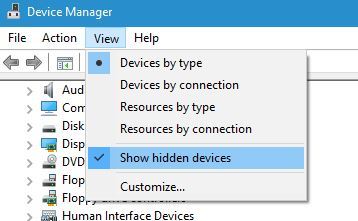
- Navigate the Network adapters section and expand it.
- Locate the Microsoft Hosted Network Virtual Adapter
- Right-click on it and select OK
How to Disable Wireless Hosted on Windows 10?
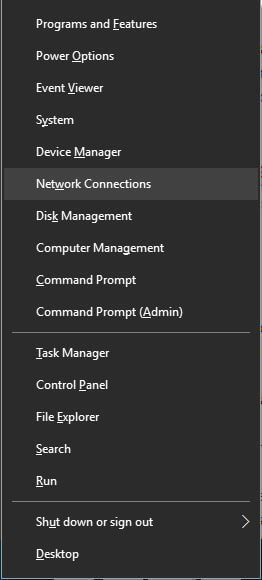
- Press Windows + X key and choose the Network Connections.
- When the Network Connections window opens, find your wireless network
- Right-click on it and select Disable
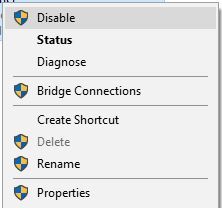
- Now, Close the Network Connections window.
How to Change a Hosted Network Settings in Windows 10?
If you want to make some changes in the current settings, such as SSID or the network security then follow the commands given below:
NETSH WLAN set hostednetwork ssid=Your_New_SSID
NETSH WLAN set hostednetwork key=Your_New_Passphrase
How to View the Current Hosted Network Settings?
You can use any from the below given two commands to view the Hosted Network settings on your Windows 10 computer:
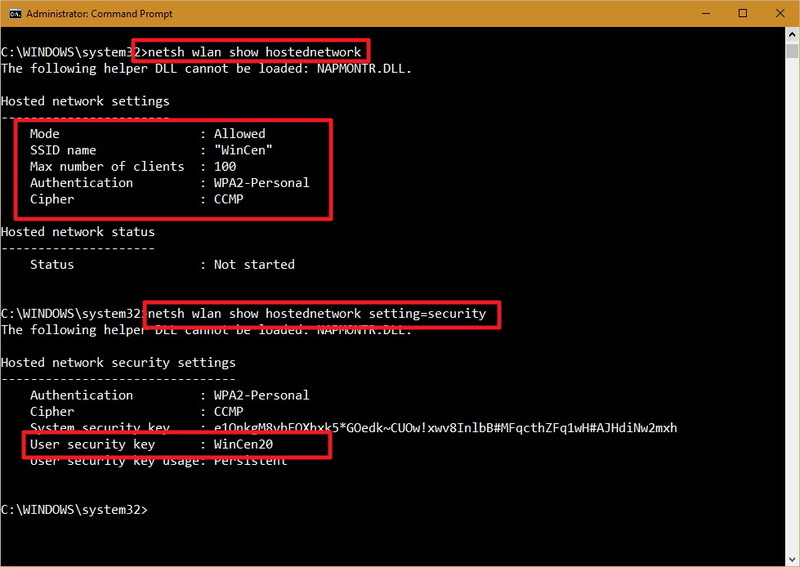
This command displays the mode and SSID name in use, max number of clients that can connect, type of authentication, and cipher:
NETSH WLAN show hostednetwork
With the help of this command you can see the current network security key among other settings, same as the previous command:
NETSH WLAN show hostednetwork setting=security
Turn Your Windows 10 Laptop into a Wireless Hotspot
There are 4 easy ways to turn your Windows 10 computer and PC into a wireless Hotspot.
- First of all, Download & install the latest version of Connectivity Hotspot on your laptop or PC.
- Name (SSID) your hotspot and Password. You can know even add Special Characters and Emojis to your Hotspot Name
- Press the‘ Start Hotspot’ button to share the Internet connection. Make sure to have an ad blocker option selected, to save money, battery life, and bandwidth.
- Connect your devices. Any Wi-Fi enabled devices that can connect to your Hotspot
How to Delete Wireless Hosted Network in Windows 10?
If you want to disable the hosted network setting in Windows 10 then you have to modify the registry. Though Windows Registry can be risky and can damage your system so it is advised to make a backup of your system before performing registry.
- Open Start menu and search for regedit, press Enter, and click on OK to open Registry with the admin rights.
- Scroll down in the Registry by the following path:
HKEY_LOCAL_MACHINE\system\currentcontrolset\services\wlansvc\parameters\hostednetworksettings
- Right-click on the HostedNetworkSettings DWORD key, select the Delete option and click on Yes to confirm the deletion.

- Restart the computer
- Open the Command Prompt and type the following command:
NETSH WLAN show hostednetwork
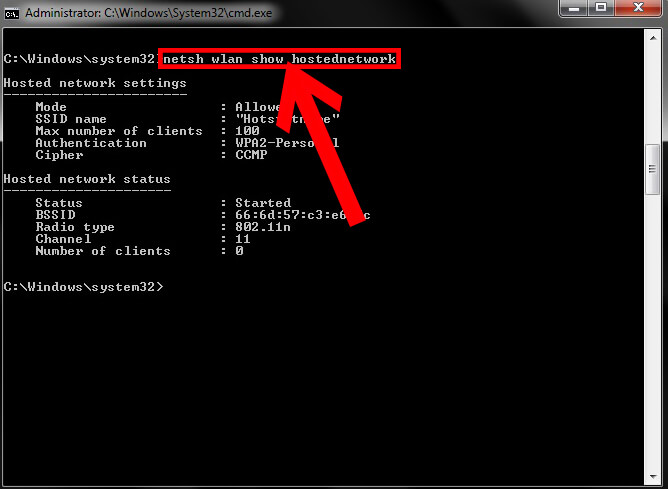
- When the Settings field reads Not configured it means you have deleted the settings successfully.
- Turn off the “Internet Connection Sharing” in the physical network adapter.
- Press Windows + X key to open the Power User menu, and select the Network Connections.
- Right-click on the network adapter, and select the Properties.
- Click on the Sharing
- Uncheck the option that says Allow other network users to connect through this computer’s Internet connection.
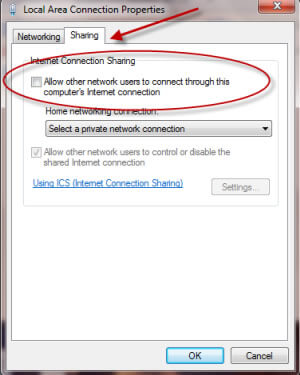
- Click on OK
Recommended Solution – Fix Various Computer Errors/Problems
If you find your Windows PC/laptop is running slow or you are encountering various stubborn computer errors and issues then it is suggested to scan your system with the one and only PC Repair Tool.
This is an advanced repair tool that just by scanning once detects and fixes various Windows problems and stubborn computer errors.
With this, you can fix various update errors, repair the corrupted Windows system files, DLL errors, registry errors, prevent virus or malware infection, and much more.
This not only fixes errors but also optimizes your Windows PC performance like a new one to optimize the gaming performance.
Get PC Repair Tool to Make PC Error Free & Speed up
Conclusion
Here, I have provided ample information regarding Hosted Network in Windows 10.
Hope after going through this article, you get to know how to create a wireless hosted network and also to enable and disable it.
Perform the command wisely according to the steps mentioned above to get a wireless hosted network in Windows 10.
However, if you are having any comments or queries then, you can contact us on Facebook or Twitter for further guide or help.
Hardeep has always been a Windows lover ever since she got her hands on her first Windows XP PC. She has always been enthusiastic about technological stuff, especially Artificial Intelligence (AI) computing. Before joining PC Error Fix, she worked as a freelancer and worked on numerous technical projects.