Many Counter-Strike: Global Offensive gamers reported the CS: GO VAC was unable to verify your game session error while joining the Steam community, matchmaking, or while playing a game.
Whereas some gamers reported as soon as they load the CS: GO for the first time they see the error message VAC unable to verify your game sessions, and the game won’t load.
If you are also seeing the particular error message and wondering how to fix it, then keep reading the article to solve the error.
Why I am Seeing VAC Was Unable To Verify Your Game Session Error?
- Missing Administrative privilege – If you are not running the Steam with admin privilege, it causes problems. As the client requires full access to functioning properly.
- Corruption in Steam Client – Sometimes the internal glitches or corruption in the Steam client start causing problems when running the game on it. So, this can be the reason why you are seeing the VAC was unable to verify the error.
- Integrity issues – You may see the error on the CS: GO game due to the integrity issues with the game files and this causes corruption when running the game.
- Van Ban Error – If there is a VAC ban on the profile, then you won’t be able to play the VAC-protected games. Also, check if you are using a VAC banned account in the family share.
As you are aware of the common culprits causing the error, now follow the step-by-step instructions to get past the error.
How to Fix CS: GO VAC Was Unable To Verify Your Game Session Error?
Solution 1: Restart Steam Client
You might be getting the VAC was unable to verify your game session error message due to the corruption issues in the Steam Client. To fix this corruption issue, you need to restart the Steam Client.
Follow these steps to do so:
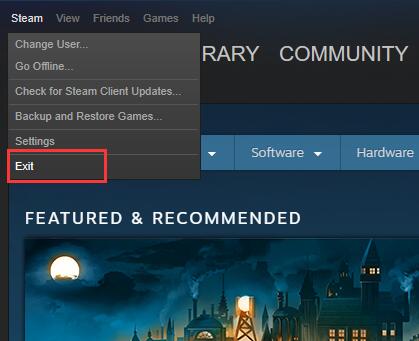
- Open the Steam Client on your computer and click on the Steam located in the top left corner of the window.
- Click on the Exit option.
- Now, open the Steam Client again.
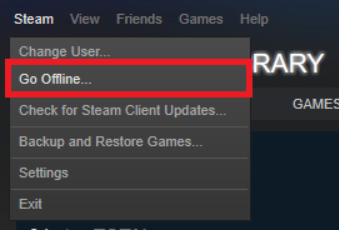
- Again, click on Steam and select Go Offline.
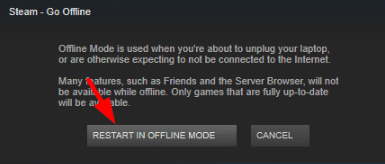
- Click on the RESTART IN OFFLINE MODE button.
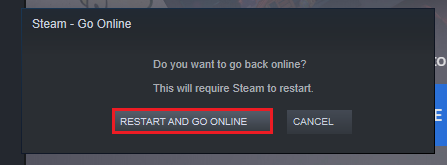
- Again, click on Steam and choose the Go Online option.
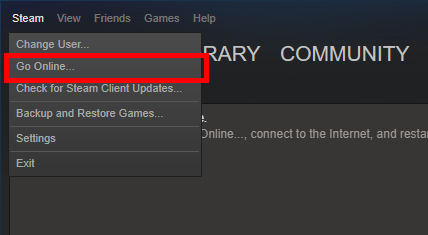
- Click on the RESTART AND GO ONLINE button.
- Now, try to launch your game.
If this method will work, then you won’t see the error message again. In case, you are still getting the error, then try the next solution.
Solution 2: Log Out and Log In to Steam Client
If the above-outlined fixes didn’t help work for you, then try to relog-in to your Steam account. The changes in the OS framework or modified configuration files might cause the CSGO VAC error on Steam.
Hence, logging out and logging in to the Steam client can resolve this issue. To do so, you simply need to go through the steps listed below:
- Open the Steam client,
- Click on your profile name located at the top-right corner of the window.
- Select Log out of account option from the dropdown list.
- After logging out from your Steam account, enter your login credentials to re-login into the Steam account.
Now, check if the VAC was unable to verify your game session is fixed from your Steam game or not.
Solution 3: Run Steam As an Administrator
If Steam doesn’t have administrator privileges, then it may cause this error to appear on your Steam game. For smooth and effective function, your Steam client needs to have admin privileges. Follow the steps mentioned below to give the admin access to Steam:
- Go to the directory where Steam is installed.
- Open the Steam folder.
- Right-click on the steam.exe file and select the Properties option from the menu.
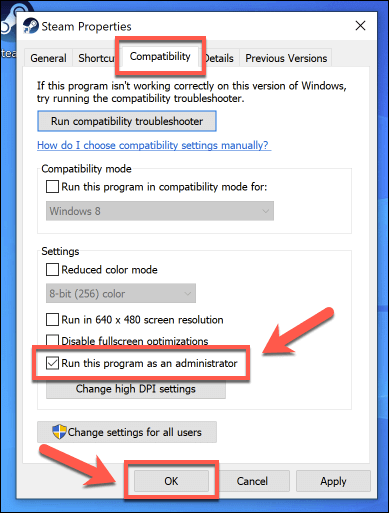
- Go to the Compatibility tab and click on select the Run this program as an administrator checkbox.
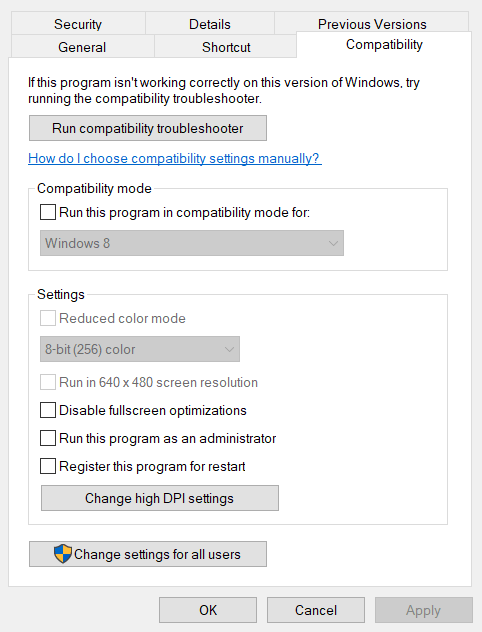
- Click on the Apply and OK button.
- Next, right-click on the GameOverlayUI.exe file and select Properties from the menu.
- Go to the Compatibility tab.
- Select the Run this program as an administrator checkbox.
- Now, click on the Apply and OK button.
Solution 4: Check the Integrity of Your Game Files
If your game files have integrity issues, then you may encounter this error message on CS: GO. However, you can easily check the integrity of your game files on the Steam Client to confirm whether there is an issue with it.
- First, you need to open the Steam Client on the computer.
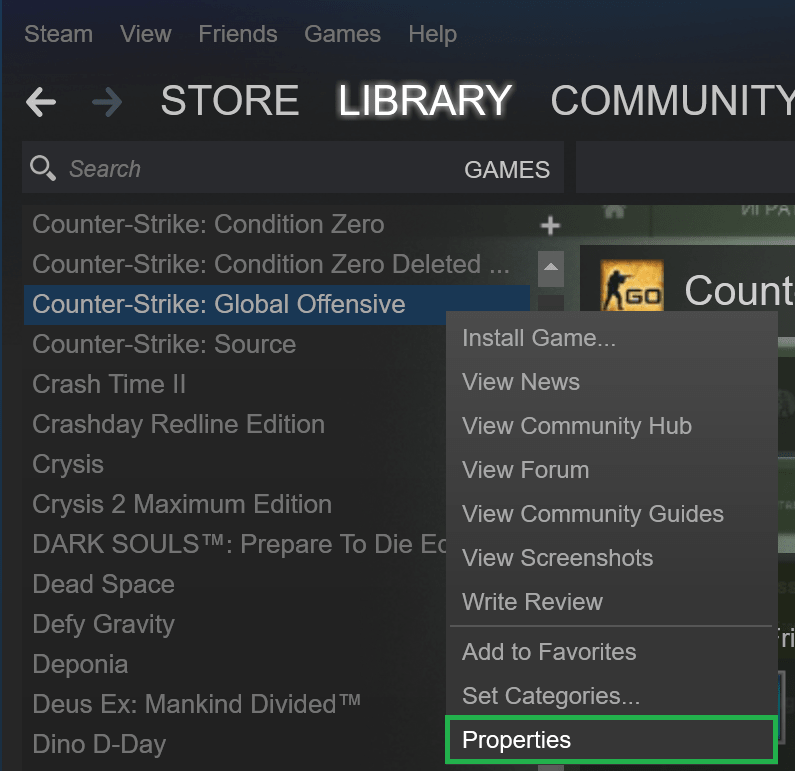
- Now, click on the Library tab.
- Right-click on the Counter-Strike: Global Offensive game and select Properties.
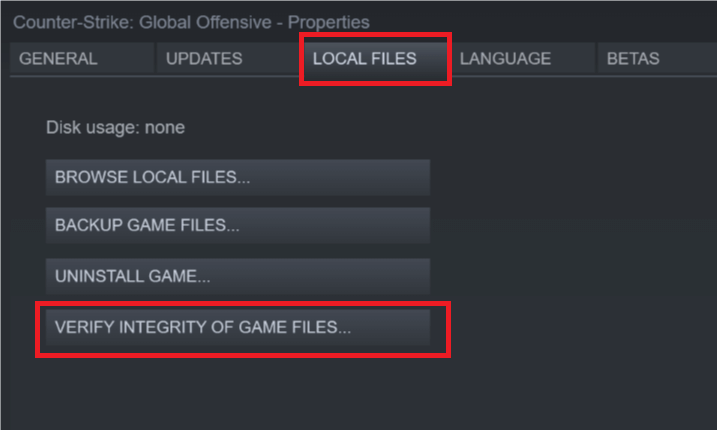
- Go to the Local Files tab and click on the VERIFY INTEGRITY OF GAME FILES.
- Now, wait for the process to get completed.
- Lastly, click on the OK button.
Now try to launch the game and see if the error persists. If yes, then move ahead to the next method to fix VAC unable to verify my game.
Solution 5: Repair Steam Client
A corrupted Steam Client is one of the major reasons for seeing the “VAC Was Failed to Verify the Game Session” error message. Hence, in this case, Steam Client needs to be repaired to troubleshoot this issue. To do so, you may follow the given steps:
- Open the Steam Client.
- Click on the Steam tab and select the Exit option from the menu.
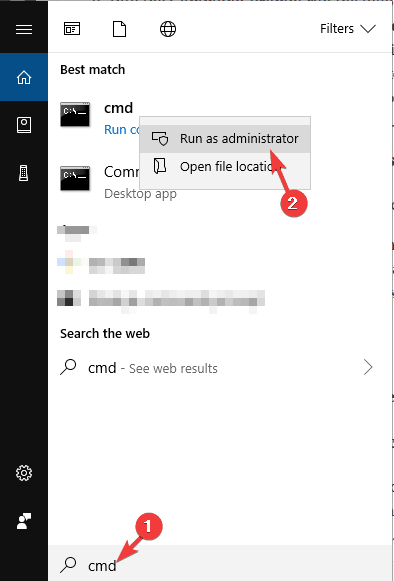
- Now, click on the Windows Start button and type cmd in the Cortana’s Search box.
- Right-click on the Command Prompt from the search result and select Run as administrator.
- In the Command Prompt, type this command and press the Enter key to execute it:
“C:\Program Files (x86)\Steam\bin\SteamService.exe” /repair
Note: C:\Program Files (x86)\Steam is the location where the Steam client is located. You can change it according to the Steam client location on your computer.
- After executing the above-given command, launch your Steam Client.
This method should resolve the error in your game. But it failed, then try out the other fixes.
Solution 6: Repair the Steam Files
Repairing the Steam files may help you to fix CS: GO VAC unable to verify my game error. Doing this will repair the corrupted Steam files and fix the error when playing games.
To do this, you need to do the following:
- Go to the given location:
C:\Program Files (x86)\Steam\SteamApps\common\Counter-Strike Global Offensive\csgo\maps\workshop
- Now, delete all the items present inside the above-given folder by pressing the Ctrl + A key and pressing the Shift + Delete key.
- Go to the given-below location:
C:\Program Files (x86)\Steam\SteamApps\common\Counter-Strike Global Offensive\csgo\maps\graphs\workshop
- Delete everything present in this folder. To do so, press the Ctrl + A key and press the Shift + Delete key to delete the items.
- Open the Steam client and now it will download the fresh copies of the corrupted files that you have just deleted from the folders.
- Now, check whether the VAC error on Steam has been resolved or not.
Solution 7: Update Device Driver
It might be possible that you have the wrong driver installed or the driver you are running is outdated on your computer and this is preventing the game from working properly, as a result, throwing the VAC was unable to verify your game session error message on your Steam Client.
There are two ways to update the drivers on your computer. First, check out the manual method of doing it:
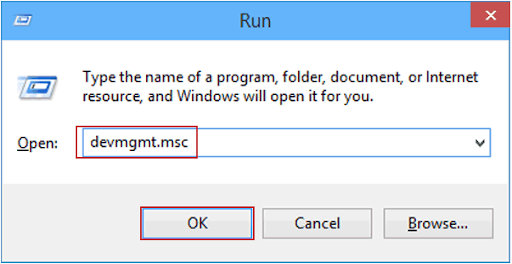
- Press Windows + R key.
- In the Run text field, type devmgmt.msc and click on the OK button to open the Device Manager.
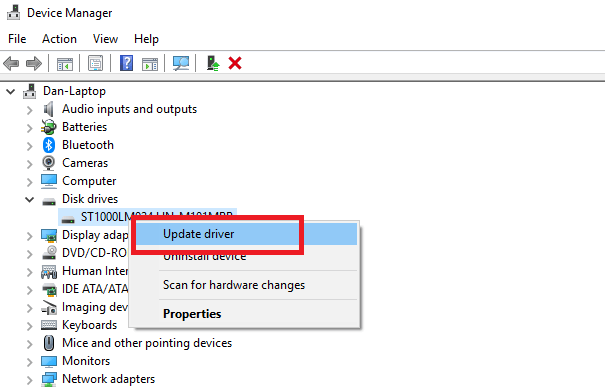
- In the Device Manager window, click on the device category to expand the section.
- Now, right-click on the device name and select Update Driver.
- Next, click on the Search automatically for the updated driver software option.
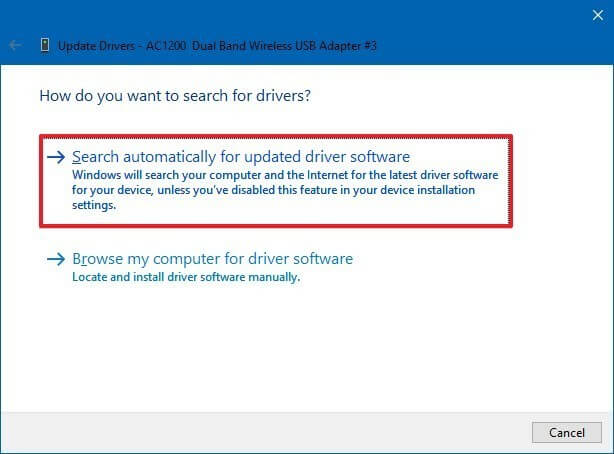
- Windows will search for the new updates and will install them on your computer.
You can also update the device driver automatically using Driver Updater. This tool will scan your computer to detect outdated or problematic device driers and will update or fix it automatically.
You don’t need to follow any manual method and trouble yourself as this tool will handle all drivers related issues on your behalf.
Get Driver Updater to Update Device Drivers Automatically
Solution 8: Reinstall Counter-Strike: Global Offensive
If none of the above-listed fixes works for you to fix VAC was unable to verify your game session error then here it is suggested to reinstall CS: GO game.
Make sure to first uninstall the game completely after that reinstall the game freshly.
Follow the steps to uninstall CS: GO completely
- First, in Steam go to the Library > right-click “Counter-Strike: Global Offensive” > click Uninstall
- Now on the window > click Delete
Once the game is uninstalled, you need to reinstall it.
Visit the link next to you – https://store.steampowered.com/app/730/CounterStrike_Global_Offensive/
And once the game is reinstalled, it is estimated “Matchmaking Failed – VAC was unable to verify your game session” error.
Recommended Solution: Boost Your PC’s Performance
In an attempt to run the programs smoothly on your computer it needs to perform well without any lagging issue. And, if you want to boost the performance of your PC, then try the PC Repair Tool.
This tool will scan your computer and will fix all the performance-related issues. Adding to this, it also fixes the BSOD, DLL, game, registry errors, repairs corrupted or damaged Windows system files, and protects your PC from virus/malware infection.
So, without wasting any further time, download this tool and scan your computer with it to resolve Windows errors and issues in one go.
Get PC Repair Tool to Improve Windows PC’s Performance
Conclusion
So, by the end of this article, you must be able to fix VAC was unable to verify your game session error while launching games on Steam.
I hope the article works for you and you are able to play CA: GO with ease.
Try the solutions given one by one till you find the one that works for you.
Also, we love to hear from our readers, do let us know which solution helped you to resolve the error, by commenting on our Facebook page.
Good Luck..!
Hardeep has always been a Windows lover ever since she got her hands on her first Windows XP PC. She has always been enthusiastic about technological stuff, especially Artificial Intelligence (AI) computing. Before joining PC Error Fix, she worked as a freelancer and worked on numerous technical projects.