Are you encountering StartUpCheckLibrary.dll missing or not found during the startup or while trying to run any file on your Windows 10 OS?
Then this article is for you here check out the complete information related to the StartUpCheckLibrary.dll error and follow the possible tested solutions to fix StartUpCheckLibrary.dll missing error on your PC/laptop.
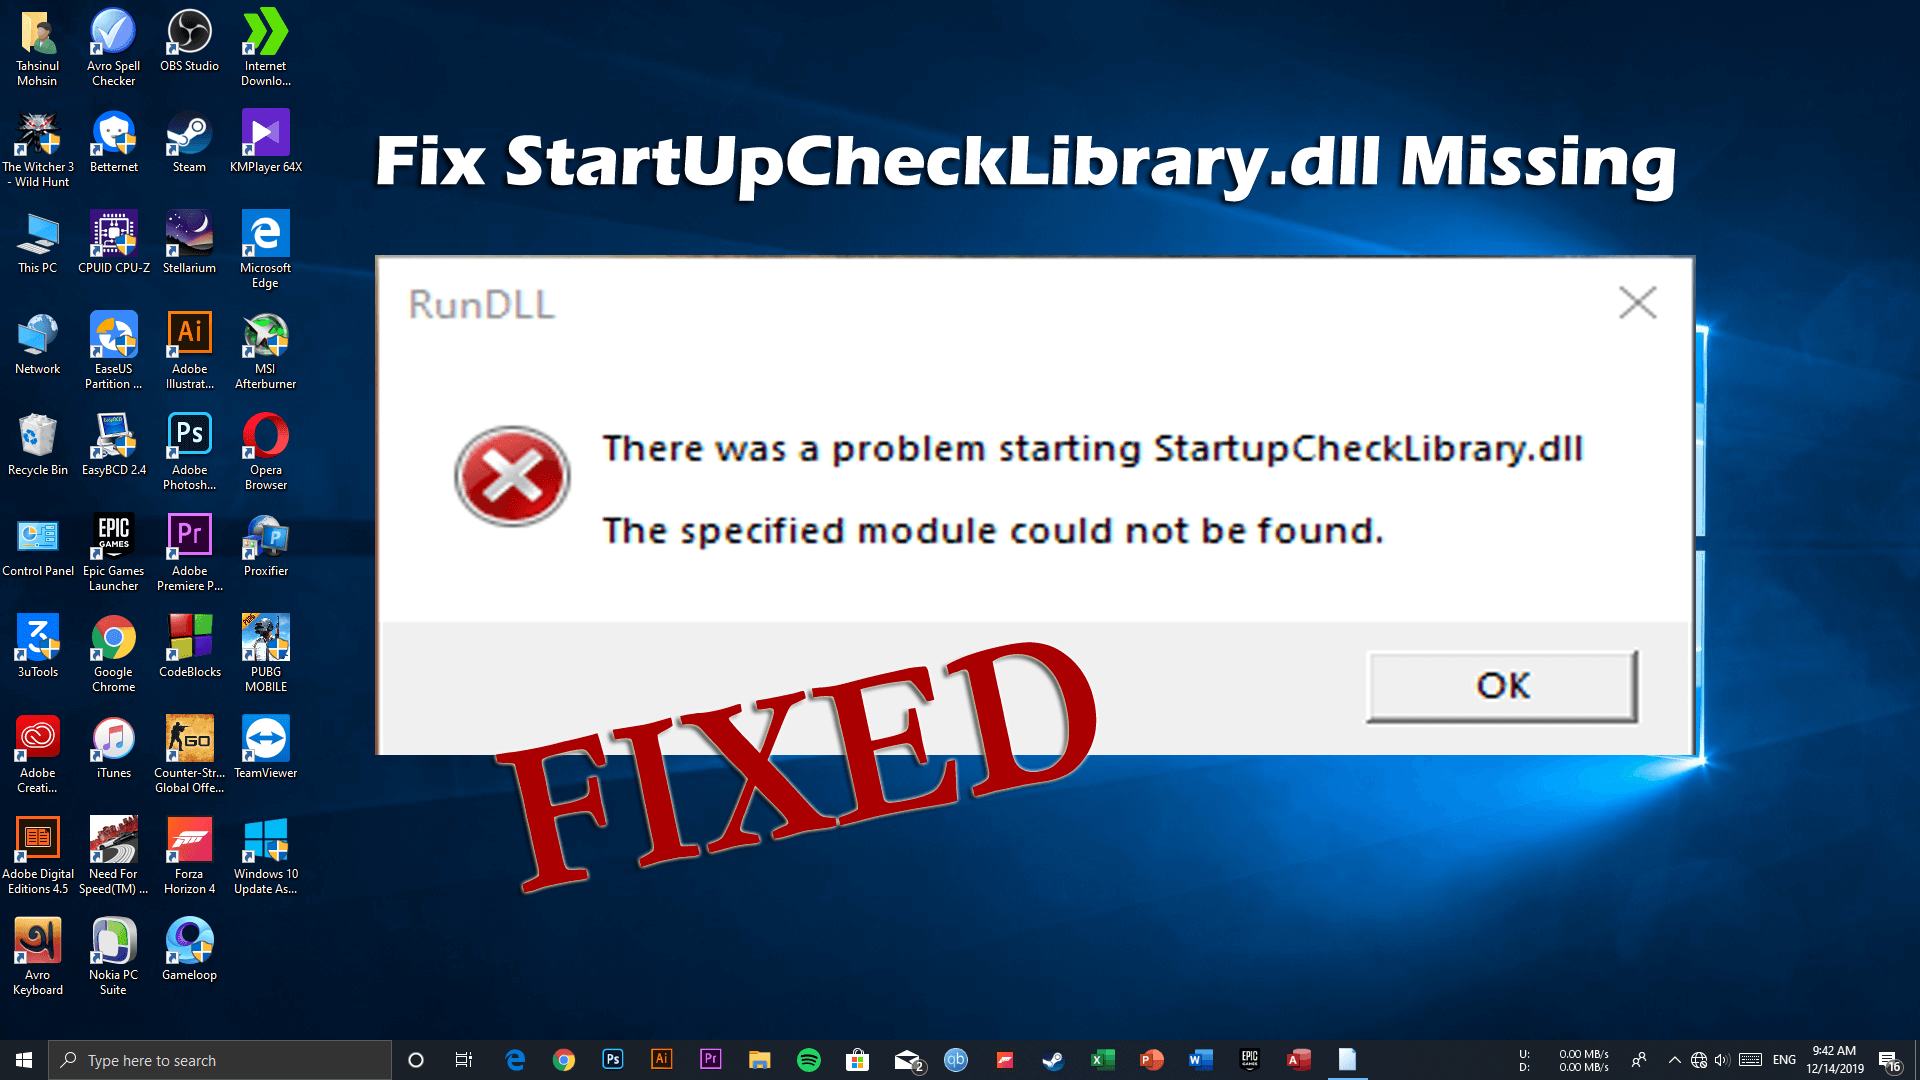
Many users also reported they are getting the DLL error after updating their device on Windows 10 latest 1909 version and when they turn on the PC a window popup with the error message:
There was a problem starting StartupCheckLibrary. The specified module could not be found’
The device won’t show any activation status and the search icon on the taskbar is also not working.
Well, this is very irritating, as the DLL files play a very important role and the Windows system requires DLL files to run each and every program. The programs use the DLL file to locate free space on the hard drive, find a file in a particular directory, and much more.
And if in case the DLL file related to the programs goes missing or corrupted the users start encountering an error while running the particular program or application start receiving an error message.
So, here below check out the fixes given one by one to fix startupchecklibrary.dll module not found error in Windows 10.
How Do I Fix StartUpCheckLibrary.dll Missing Error on Windows 10?
Solution 1: Run Automatic DLL Repair Tool
It is suggested to run the automatic DLL fixer to fix startupchecklibrary.dll module not found an error. This is a highly advanced tool that just by scanning once, detect and repair or replace the missing or broken DLL files.
Despite this, it also optimizes the PC performance by repairing the corrupted or damaged Windows system files and other fatal Windows errors as well. It is a completely safe and 100% trusted tool to fix DLL error and make your system error-free
Get DLL Repair Tool, to Fix StartUpCheckLibrary.dll Missing or Not Found
Solution 2: Run SFC Scan
Well, if you are looking to fix the startupchecklibrary.dll not found error manually then here it is suggested to run the SFC (System File Checker) inbuilt tool to repair the corrupted system files and the missing DLL files in Windows 10.
Follow the steps to run the SFC scan
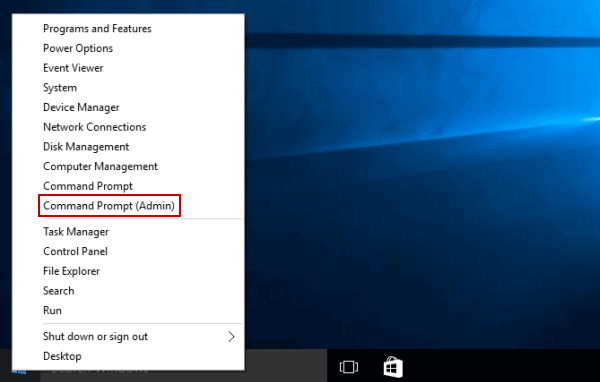
- Press Windows + R key and in Run box,> type CMD > and open the Command Prompt as Admin
- Now in command prompt type the below-given command and hit Enter
- sfc/scannow
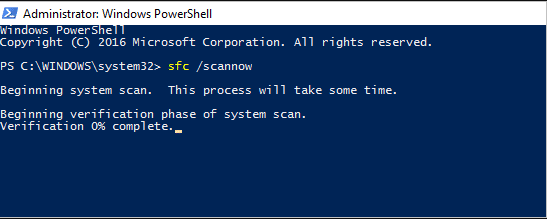
- And wait for the scanning process to finish (approx. 15 minutes)
And restart your system check if the startupchecklibrary.dll missing error is resolved or not. But if not then head to the next solution
Solution 3: Run DISM Scan
If the SFC scan fails to repair DLL error then run the DISM (Deployment Image & Servicing Management) tool. This is also an inbuilt tool and used when the SFC tool fails to fix corrupted Windows system files.
So try to run the DISM tool, follow the steps to do so:
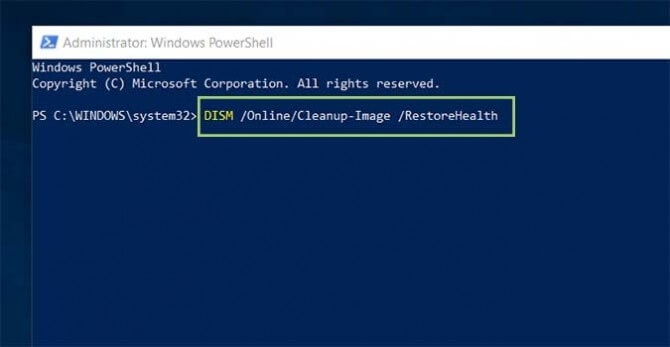
- Run Command Prompt as admin
- And in the Command Prompt, type the below-given command > press Enter:
- DISM /Online /Cleanup-Image /RestoreHealth
- Now wait for the scanning process to complete (approx. 30 minutes)
- Restart your computer.
It is estimated now the error message “There was a problem starting StartupCheckLibrary. The specified module could not be found” won’t pop up.
Solution 4: Run an Antivirus Scan
If the above listed manual solutions won’t work for you to fix StartupCheckLibrary missing error in Windows 10. Then it might happen your system is infected with virus or malware infection.
So, here it is suggested to scan your system with the Windows Defender inbuilt antivirus program or else with the good third party antivirus program.
Follow the steps to scan your system with Windows Defender:
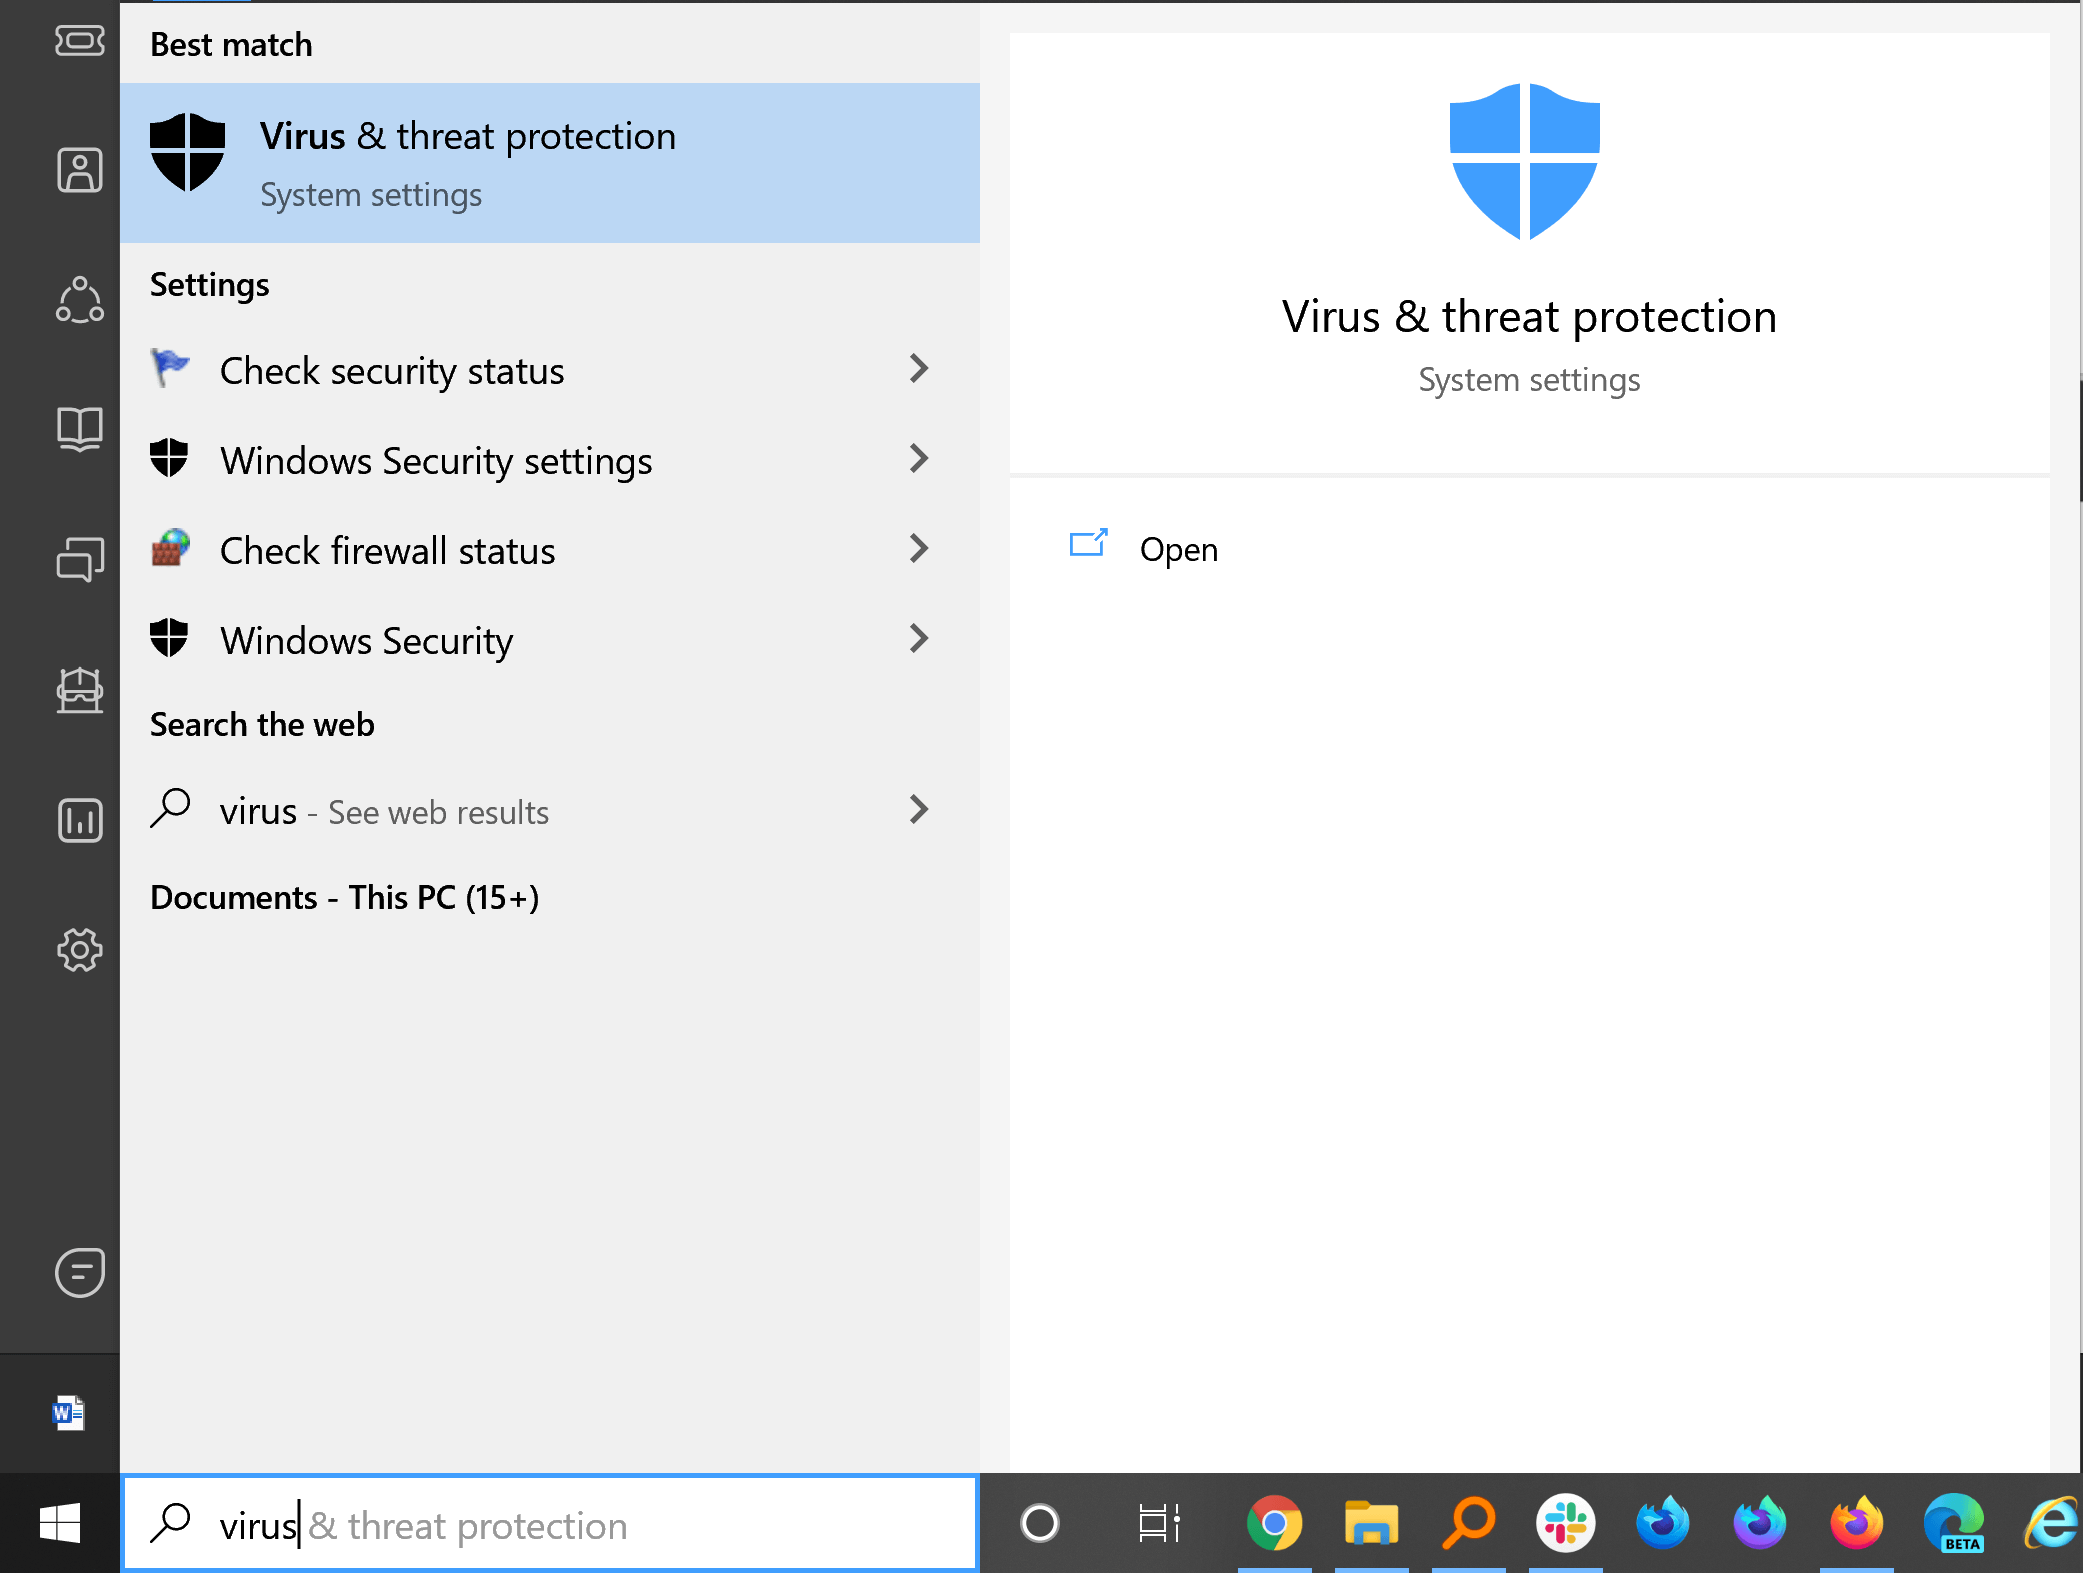
- In the search bar type virus > and click on Virus & threat protection
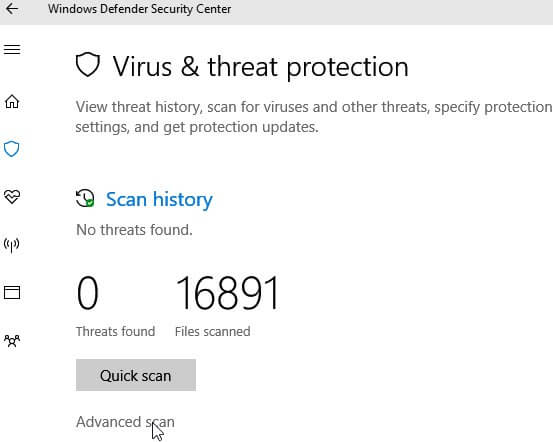
- Then in the Virus & threat protection window > click Advanced scan
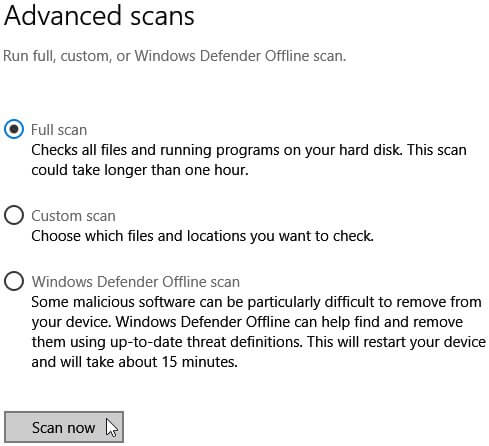
- Now choose Full scan > click Scan now
- This will start scanning your system for viruses or malware infections.
If virus threats are found then delete them manually and restart your system.
Well, many times the inbuilt Windows Defender is unable to detect and fix many malicious threats or viruses programs, so here it is suggested to scan your system with a good third-party antivirus program.
Get SpyHunter to remove virus or malware infection completely
Solution 5: Manually Download the DLL File
If you are still getting the StartUpCheckLibrary.dll missing Windows 10 error then here it is suggested to manually download the DLL files. Well, there are plenty of free websites available on the web but avoid downloading the DLL files from these free DLL files as this comes bundled with the virus or malware infection.
Make sure to download the DLL file from the Microsoft official website and search for the StartUpCheckLibrary.dll file and if it appears then download and paste in on your computer.
Moreover, you can also copy the particular DLL files from the working computer and paste it on your computer. But make sure another computer is having the same specification your computer is having otherwise it won’t work.
Solution 6: Install DirectX
If still the startupchecklibrary.dll module not found error is not fixed then try to install DirectX this will help you to fix the DLL error on your Windows version.
And as per the users, this works for them to fix startupchecklibrary.dll missing problem, so it is worth to give a try and download the required DirectX version.
You can download the necessary files from the Microsoft official website, also if you are facing the DLL error while running any game then check for the DirectX set up on the game disc and install it from there.
It is expected this works for you but if not then try rolling back the latest installed Windows 10 update 1909 version.
Solution 7: Rollback the Latest Update & Reinstall it
If none of the above-listed fixes works for you to fix StartUpCheckLibrary.dll missing or not found then try to roll back the latest installed update.
Follow the steps to do so:
- Press Win + I key to start the Settings app.
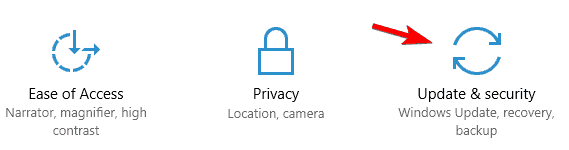
- Then expand Update & Security > go to Windows Update.
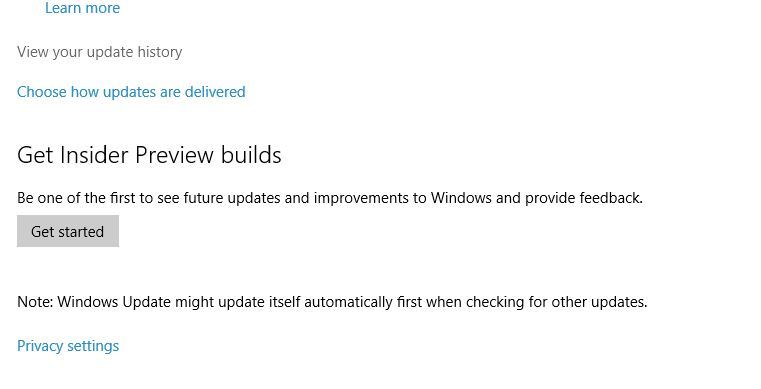
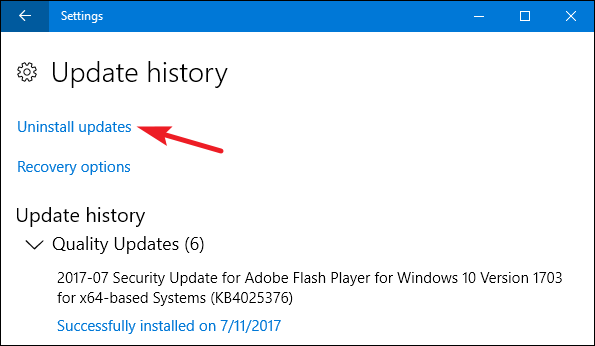
- Now go to the right side and click View update history.
- Next move to Uninstall updates section > locate the latest installed patch or 1909 update
- Click the Uninstall option at the top bar.
- And as the update is uninstalled then restart your PC
- Now download and install the Media Creation Tool
- Then run the program > choose update download and install it.
Now check if the startupchecklibrary.dll module not found is resolved in Windows 10 or not.
Startupchecklibrary.dll: Frequently Asked Questions
1 - What is StartupCheckLibrary.dll?
StartupCheckLibrary.dll is a Startup Check Library DLL file developed by Microsoft Corporation. This DLL file helps Windows to perform the Windows startup and run the startup files easily. It is located in the C drive SYSTEM32 folder.
2 - What causes Startupchecklibrary.dll missing?
Some of the most common causes of the Startupchecklibrary.dll missing or not found error are: corrupted Windows system files, DLL files corruption, malware infection, DLL files get overwritten or misplaced due to installing the latest program, registry entries corruption, install latest Windows updates and others.
3 - How Do I Fix The specified module could not be found Error?
Try the below-given fixes like:
- Run SFC & DISM scan
- Perform an antivirus scan
- Update the system drivers
- Install latest DirectX version
- Repair corrupted Registry Entries
Conclusion:
So this is all about the Startupchecklibrary.dll missing error on Windows 10. I tried my best to list down the complete possible solutions to fix the error.
Follow the solutions given one by one carefully and fix startupchecklibrary.dll module not found.
Moreover, you can also scan your system with the professional recommended DLL Repair Tool to resolve any DLL error. This is an easy and 100% safe solution to fix Startupchecklibrary.dll missing or not found an error in Windows 10.
Hope the article works for you but if you are having any comment, queries, or suggestions then feel free to share with us on our Facebook Page, also don’t forget to hit the like page.
You can also check out more interesting DLL errors related articles on our DLL Errors Hub.
Good Luck..!
Hardeep has always been a Windows lover ever since she got her hands on her first Windows XP PC. She has always been enthusiastic about technological stuff, especially Artificial Intelligence (AI) computing. Before joining PC Error Fix, she worked as a freelancer and worked on numerous technical projects.