Is your system throwing .NET Framework error 0x800736b3? Are you unable to download the .NET framework on your Windows 10 system after upgrading or updating? Or getting error code 0x800736b3 while trying to update your computer?
No matter when and how you are getting the error code 0x800736b3 because once it affects your computer, you should immediately take action to fix it.
Before start applying the given solutions, let’s discuss a bit more about the framework and this error on Windows 10.
Framework software contains more than thousands of pieces of shareable codes for the other installed software to run some common functions.
But sometimes, the user may also get “Reference assembly not installed in the system. Error Code: 0x800736b3” while trying to run a game, launch the app, or execute any other service on the Windows system.
There could be various reasons behind getting this error on Windows PC. So, let’s go and find out the reasons for the Windows 10 error 0x800736b3.
Causes of .Net Framework Install Error Code 0x800736b3
There are lots of causes that can trigger error code 0x800736b3 while operating the Windows system. Some of them are:
- Confliction of System Firewall
- Problematic internet connection
- Damaged system files
- A problem in the Windows update service
Now, let’s start applying the below-discussed solutions one by one to fix error code 0x800736b3
How Can I Fix .NET Framework Install Error 0x800736b3 on Windows 10 PC?
Method 1: Uninstall the Latest Windows Update
If you are getting the .Net Framework installation error 0x800736b3 after installing a specific Windows update, then uninstall the latest update after which this error starts getting triggered.
To uninstall the Windows update, you can follow these simple steps:
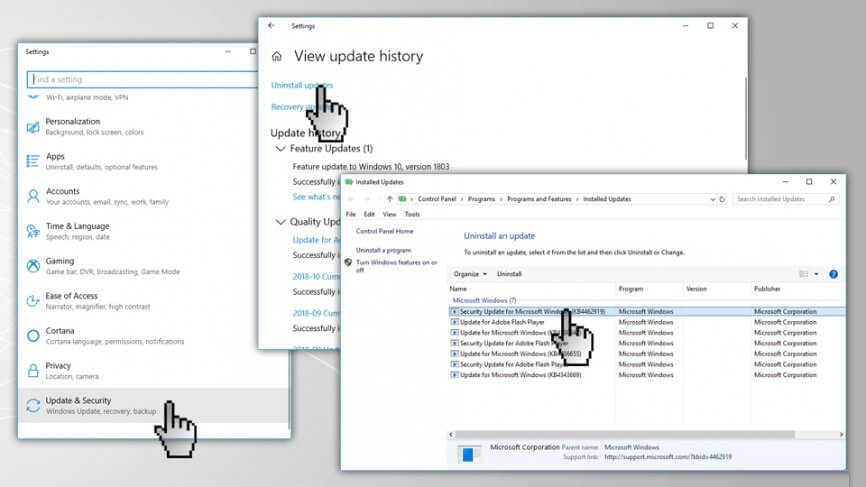
- Open the Windows Settings by pressing the Windows + I key.
- Choose the Updates and Security option and click on the View installed update history.
- From the top of the window, click on the Uninstall updates.
- You have to find out the recently installed cumulative update due to which your system triggering the error code 0x800736b3.
- Now you have to uninstall it. To do this, right-click on it and choose Uninstall
Method 2: Reinstall the .NET Framework 3.5 to Fix Windows 10 Error Code 0x800736b3
If even after uninstalling the Windows update, you are still facing this issue, then you have to install the.NET Framework and see if this method worked for you to fix the .NET Framework error 0x800736b3 in Windows 10:
- First, you have to visit the https://www.microsoft.com/en-us/download/details.aspx?id=21 to download the.NET Framework 3.5
- Select your preferred language and then click on the Download
- Simply, follow the onscreen instructions to complete the installation process.
Method 3: Try to Download Offline .Net Framework Installer
If you are unable to install the .NET Framework due to the given error code 0x800736b3 then you should go with the offline .NET Framework installer.
- First, you have to visit: https://www.microsoft.com/net/download/framework and go with the matching version.
- Download and save the file.
- Now, run the file and verify it.
This process takes a few minutes to accomplish.
After installing the .net Framework, now try to run any application that was showing an error message and check the issue.
Method 4: Go With the Group Policy Editor
If you are still getting the error code 0x800736b3 when installing the .Net Framework, then follow the simple given steps:
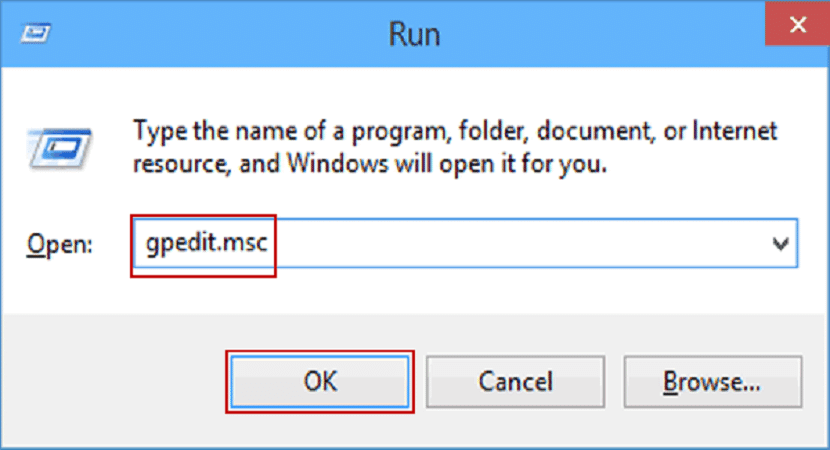
- Press the Windows + R key to open the Run dialogue box.
- In the run box, type gpedit.msc, and press the Enter key to open the Group Policy Editor.
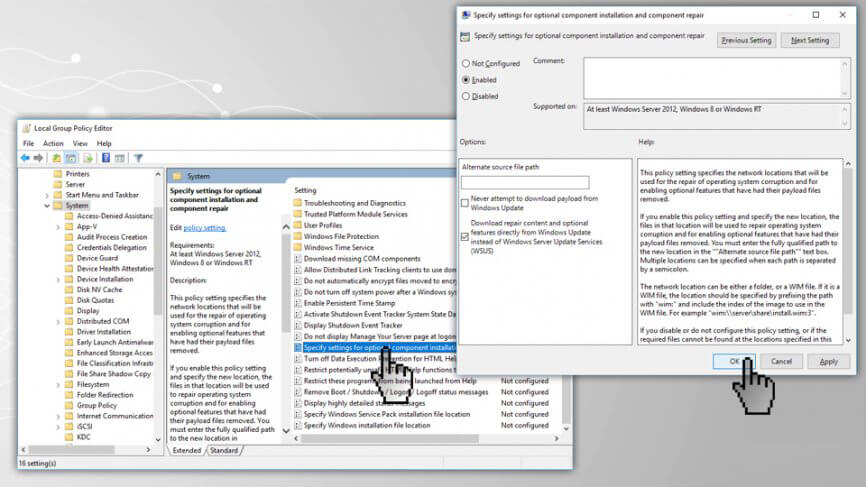
- Now navigate to the Computer Configuration > Administrative Templates > System.
- You have to search for the Specify settings for optional component installation and component repair option from the right pane.
- In case, it is set to the Not Configured, then you have to double-click on it and set it to Enabled.
- At last, turn on the Contact Windows Update directly to download repair content instead of Windows Server Update Services (WSUS) and then click OK.
Method 5: Run the Deployment Image Servicing and Management (DISM) tool
If this error is appearing due to the corrupted system files, then try to run the DISM tool. It will replace all the corrupted or missing files with the healthy copy of that file.
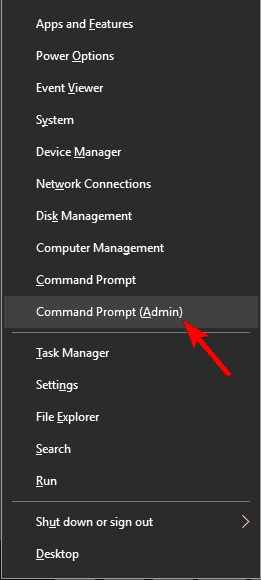
- First, you have to open the Command Prompt with the admin. To do this, press the Windows + X key and select the Command Prompt (Admin).
Note: If UAC asks for the administrator password or confirmation then provide the password or hit the Allow.
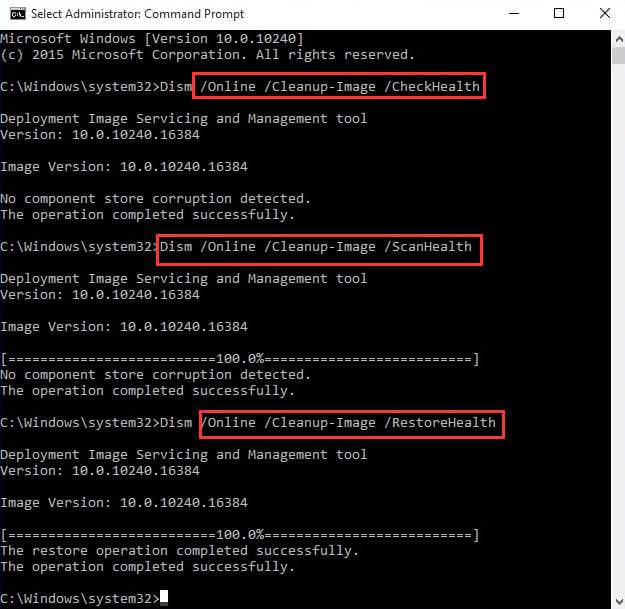
- Type the given command in the Command Prompt and hit the Enter key to run it:
DISM.exe /Online /Cleanup-image /Restorehealth
- If the required files are damaged then you should take the help of a Windows installation media. Insert the media and then run the following command to the Command Prompt window:
DISM.exe /Online /Cleanup-Image /RestoreHealth /Source:C:\\RepairSource\\Windows /LimitAccess
Method 6: Run the Update Troubleshooter
The .Net Framework installing error 0x800736b3 also occurs during the Wind0ows 10 update. So, in this method, we will try to run the Windows Update Troubleshooter to fix the error code 0x800736b3 :
- Open the System Settings by pressing the Windows + I key.
- Now, choose the Updates & Security option.

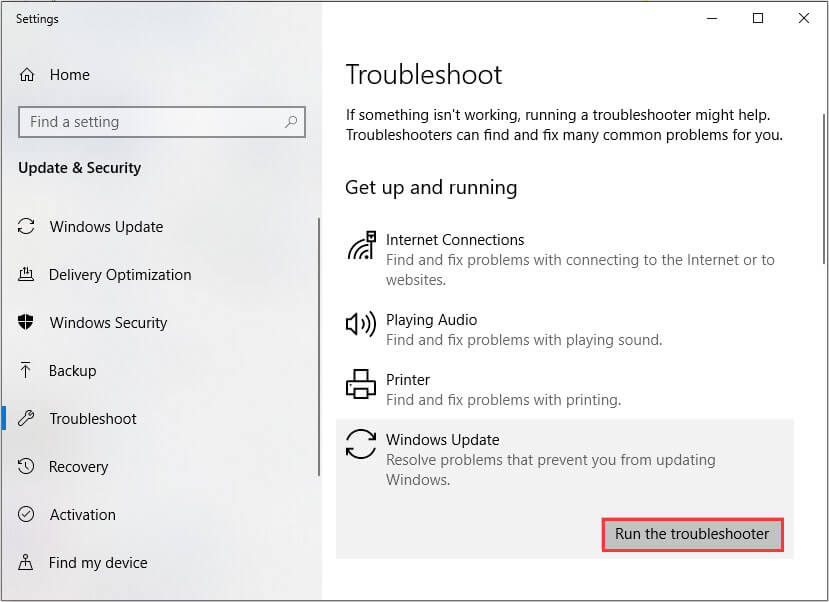
- Now, click on the Troubleshoot, then go to the Windows Update section, and then click on the Run the Troubleshooter button.
- Simply, follow the on-screen instructions to accomplish the troubleshooting.
- Reboot your computer.
Method 7: Reset Windows Update components
The next solution to fix the .Net Framework install error 0x800736b3 is to reset the Windows Update Components. In order to reset the Windows Update component, you should follow the below-given steps.
In this method, you have to run the below-given commands one by one to reset all the Windows Update components manually.
- First, you have to open the Command Prompt with the admin privileges. To do this, press the Windows + X key and select the Command Prompt (admin)
- Now, run the given commands one by one. To do this you have to press the Enter key after each of the commands.
net stop wuauserv
net stop cryptSvc
net stop msiserver
ren C:\Windows\SoftwareDistribution SoftwareDistribution.old
ren C:\Windows\System32\catroot2 Catroot2.old
net start wuauserv
net start cryptSvc
net start msiserver
Method 8: Make Sure Windows Update Service is Running
After resetting the Windows update components, now it is recommended to verify the Windows update service and make sure that the service is running without any issue.
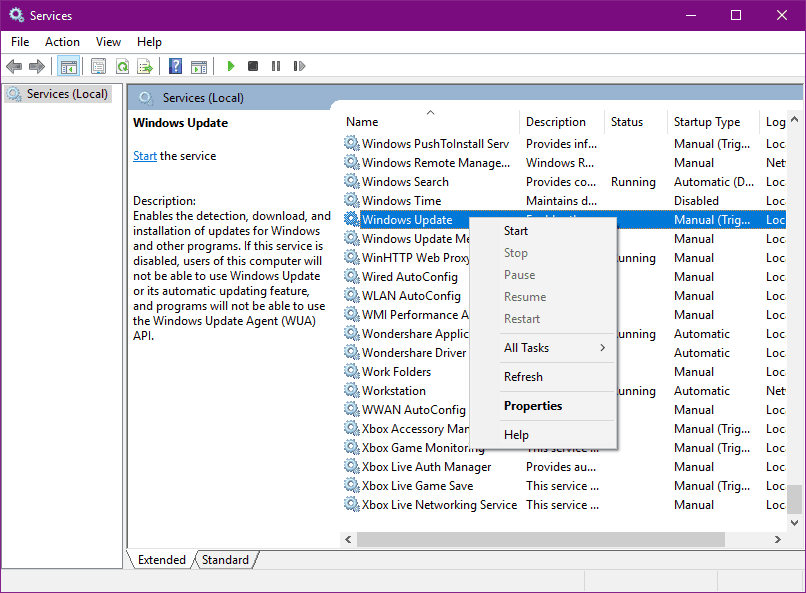
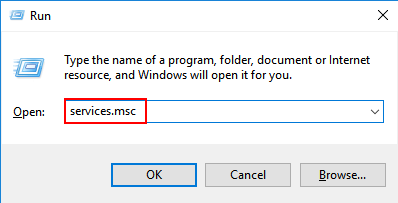
- Press the Windows + R to open the run dialogue box. In the run box, type services.msc, and press the Enter key to open the Services window.
- Now, search for the Windows Update service. Right-click on it and then open the Properties
- Go to the General tab, and search for the Startup type and select Automatic.
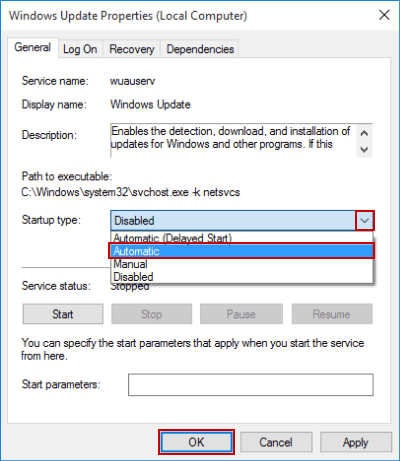
- In case, the service is not running then right-click on it and select the Start.
- Confirm and then close the window.
Method 9: Verify the BITS Service is Running or Not
After verifying the Windows update Service, now, we will verify the Background Intelligent Transfer Service (BITS). BITS service is responsible for delivering Windows Updates. Follow the below-given steps to do this,
- Press Windows + R key to open the Run dialog box.
- In the run box, type services.msc then hit the Enter key.
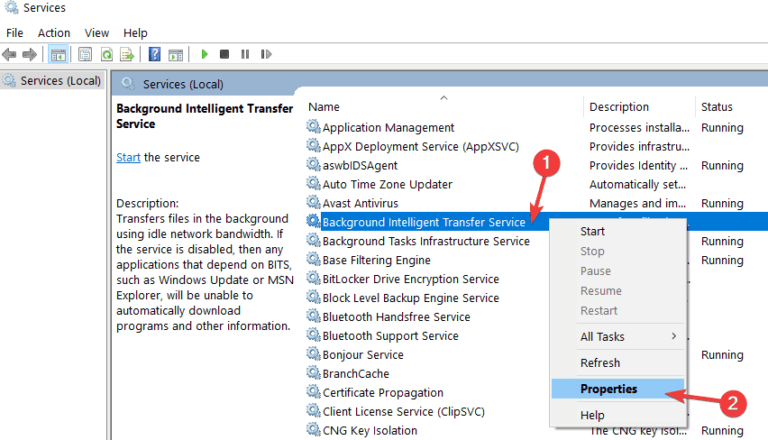
- Search for the Background Intelligent Transfer Service (BITS) and double-click on it to open the BITS’ properties.
- In case, if the service is disabled, then click on the Start button.
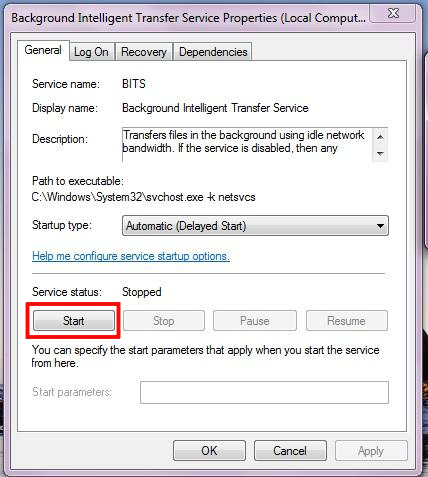
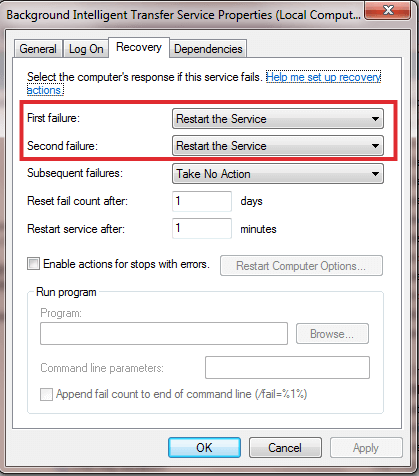
- Select the Recovery tab and then verify that the First failure and Second failure are set to Restart service.
- At last, verify all of your selection and then check for updates.
Method 10: Modify the DNS settings
In order to change the DNS settings follow the below-given steps:
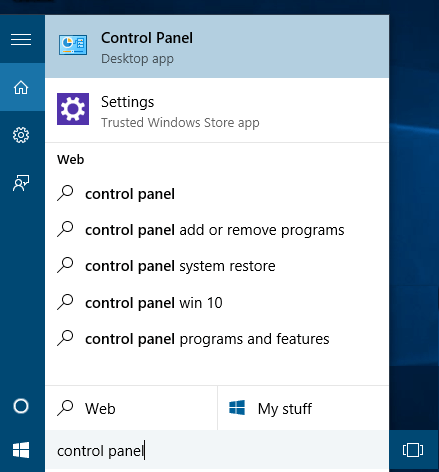
- Go to the Windows Search box and type Control Panel.
- From the search result select the Control Panel.
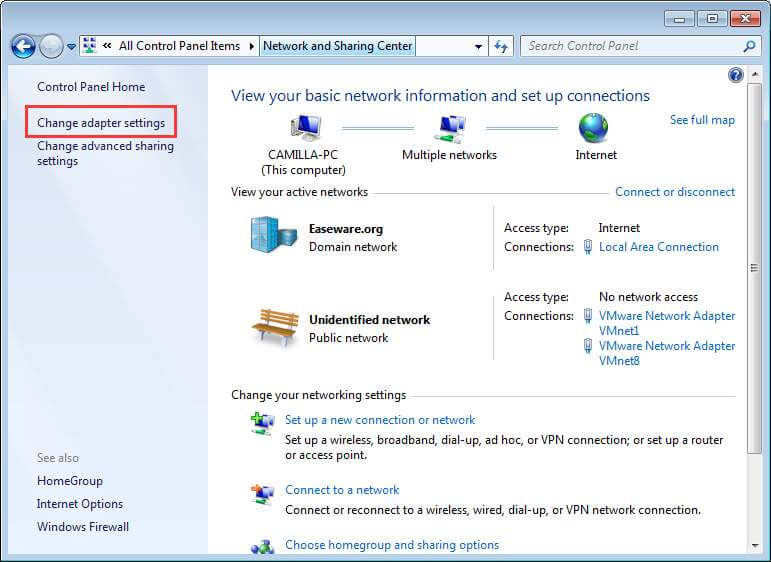
- Navigate to the Network and Sharing Center, and click on the Change adapter settings present on the left pane.
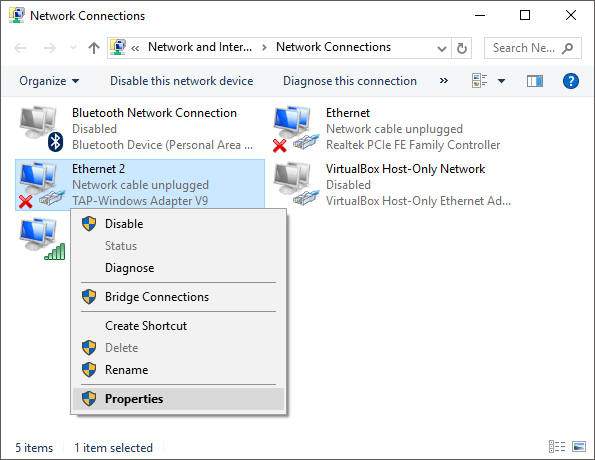
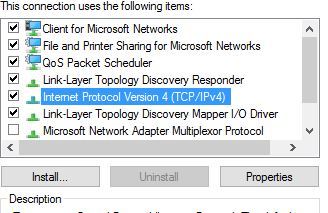
- Select the network that you are currently using, right-click on it, and select Properties.
- In this step, you have to scroll down to the Internet protocol version 4 (TCP/IPv4), and select Properties.
- Then, select the Use the following DNS Server addresses option
- Type the following values: DNS Server – 8.8.8.8 and Alternate DNS Server – 8.8.4.4
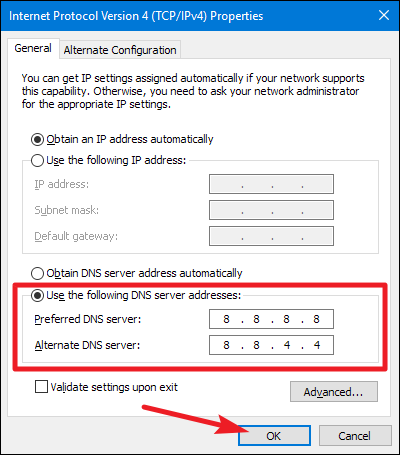
- At last, save the changes, and reboot your computer.
Make Your PC Error Free With an Easy Solution
If you are looking for an easy way to resolve the Windows PC errors and issues, then I suggest you using the PC Repair Tool.
This tool is capable of fixing common PC errors and issues including fixing the corrupted registries, save you from the sudden file loss and keeps your PC safe from the virus/malware infection.
It also keeps your PC healthy and optimizes it to boost the performance.
Get PC Repair Tool to Fix PC Errors/Issues
Conclusion
That’s all about the .NET Framework error 0x800736b3. It is hoped that after applying all the above given 10 methods your system is now working without any error.
If you liked this article and any of the fixes helped to troubleshoot the error code 0x800736b3 while installing the .Net Framework, then share this article to help the users having the same issue.
If you have any suggestions regarding the one mentioned here, then feel free to share it with us on Facebook or Twitter.
Hardeep has always been a Windows lover ever since she got her hands on her first Windows XP PC. She has always been enthusiastic about technological stuff, especially Artificial Intelligence (AI) computing. Before joining PC Error Fix, she worked as a freelancer and worked on numerous technical projects.