Microsoft Often releases Windows Updates that Include new features to lots of bugs. Windows 10 also set to install updates automatically if your system is connected to the internet. Sometimes because of various reasons Windows fails to install Updates and shows a message:
There were problems installing some updates, but we’ll try again later. If you keep seeing this and want to search the web or contact support for information, this may help:
Definition Update for Windows 10 Error 0x80248007
Windows 10 update error 0x80248007 failed to install means that there are some missing files in Windows Update, or Windows Update can’t locate the Microsoft Software License Terms. This error prevents users from downloading and installing any update via Windows update section.
If you are among those users who face such an update error then this article will help you to fix 0x80248007 Windows update error. Go through the tricks mentioned below and solve the error.
How Do I Fix 0x80248007 Windows Update Error
Here, in the below section of this blog, you will get to know how you can fix 0x80248007 Windows Update Error in Windows 10. These steps are very easy to try, and you don’t even have to take any technical help from experts. So, do not avoid trying these steps and make your PC run perfectly even without any issues.
Table of Contents
Trick #1: Via Windows Command Prompt
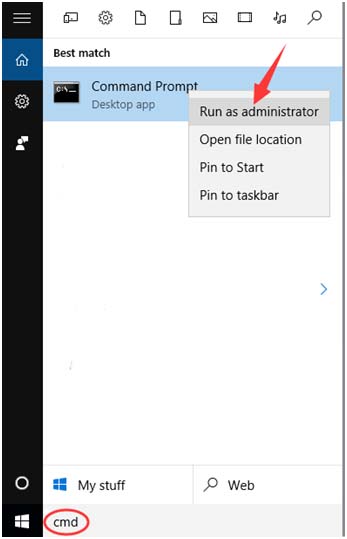
1: You need to run Windows Command Prompt with admin privileges, go to the Windows search box and enter command prompt now Right-click on the Command Prompt from the available result, and select Run as administrator.
2: Now in Elevated Command Prompt, enter net start msiserver and press Enter key from keyboard to run the command.
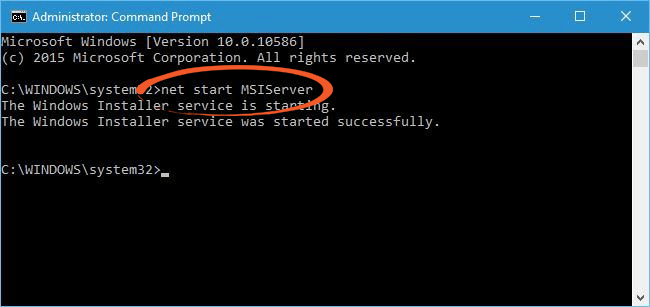
3: After it exits from the command prompt by clicking on the X or by typing Exit and executing the command.
This solution will fix the above-discussed update error and make you able to download all the available updates for your Windows system.
Tip: Windows Update error “0x80248007” could appear because of system file missing or Windows Update is missing or when the Windows update gets unable to find/locate the Microsoft Software License Terms. So it is suggested to first execute the Windows Update troubleshooter, this will surely help you to fix this issue.
But if you are unable to fix Windows 10 update issue then you should follow the below-given instructions in order to fix the problem by yourself.
Trick #2: Windows Update Service
# Reset Windows Update Service
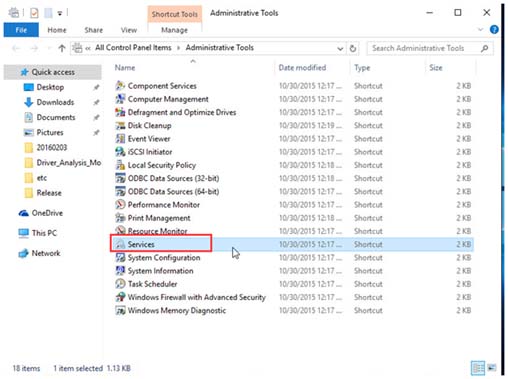
1: Go to the Control Panel > Administrative Tools. And double click on Services. Sometimes you need to enter an administrator password or confirmation, enter the password or provide confirmation.
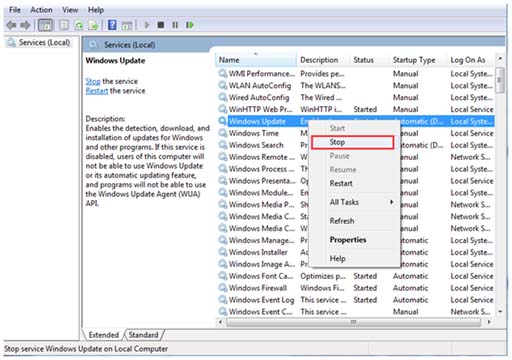
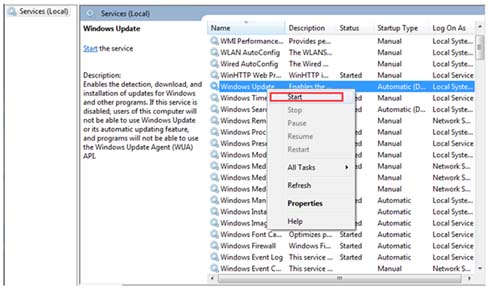
2: Search for Windows Update service and after finding right-click on it and select Stop option.
Trick #3: Remove Temporary Update Files from SoftwareDistribution Folder
Still, having a problem after trying the above two tricks? If yes, then delete the Windows update cache files. This is another solution that can work for you. In order to perform this task, you have to right-click the Start menu and then choose “CMD prompt” and then you have to click on Yes option to allow this to run with administrative privileges.
Or, at the command prompt, you can also type the below-mentioned command and then hit the option “Enter” so that it stops the Windows Update service and their related services.
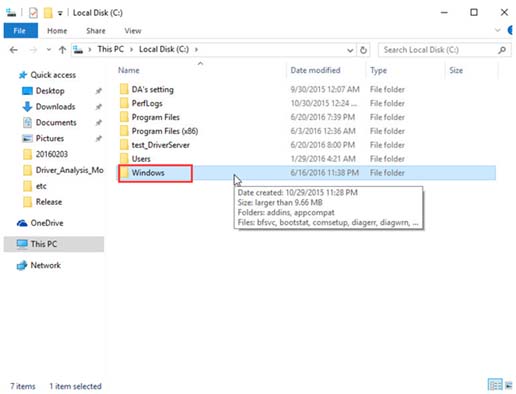
1: Open system driver and go to the Windows folder.
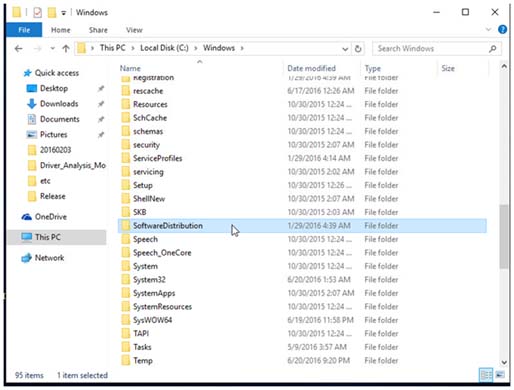
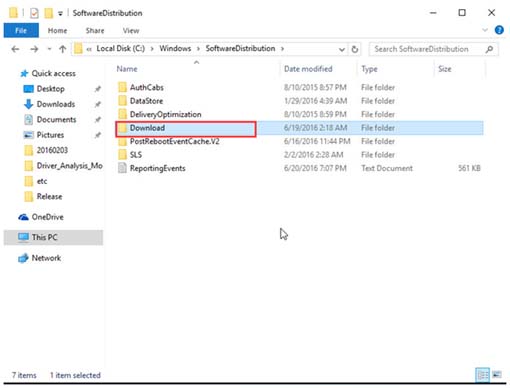
2: After it, find the SoftwareDistribution folder.
3: Again open the DataStore folder and delete all the files and folders present in it.
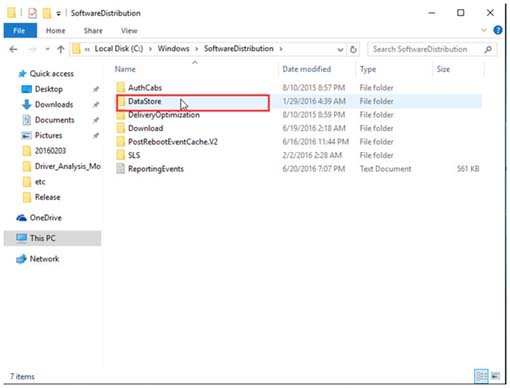
4: Again go back to the SoftwareDistribution folder and open the Download folder. Delete all the files present in this folder.
Trick #4: Restart Windows Update Service
1: Navigate to the Control Panel > Administrative Tools > Services > Windows Update.
2: Search for the Windows Update service, right-click on it, and select Start.
3: Select the Services window and the Administrative Tools window.
Trick #5: Delete Windows Update Cache Files
Another solution to fix 0x80248007 Windows update error is to delete Windows Update cache files. Follow the steps to do so:
- Click on Windows icon
- Type command prompt or cmd and right-click on it
- Select run as administrator
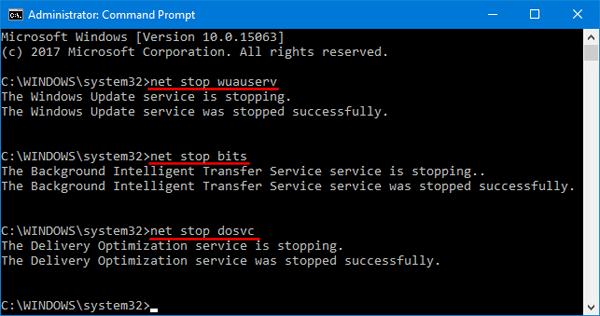
- Now type the following commands and press enter:
net stop wuauserv
net stop bits
net stop dosvc
- Go to the C: > Windows > SoftwareDistribution > DataStore and delete the files from the folder.
- Now, go to C: > Windows > Software Distribution > Downloads folder and delete the files from the folder.
- After that restart the services stopped previously by the following commands and hit enter:
net start wuauserv to start windows update service.
net start bits to start BITS Background intelligence task Service.
net start dosvc to execute command.
Now, restart your system and see if the problem is fixed or not, and then install the updates.
Easy Solution to Fix Windows Update Error 0x80248007
If you are unable to fix this update issue after applying all the above-given tricks then you should try a professional way to get rid of the 0x80248007 Windows Update Error in Windows 10.
Try running the PC Repair Tool, it is designed by professionals that fix several errors and issues on your PC and make it run just like a new one.
All you have to do is, download this tool and it will scan your computer, detects all the errors, and fix them automatically.
It fixes errors, such as registry, DLL, update, BSOD, game, repairs corrupted system files, prevents virus/malware from PC, and much more.
Get PC Repair Tool to Fix Windows 10 Update Error 0x80248007
Conclusion
Getting 0x80248007 Windows Update Error is very common in Windows 10. But, there is no need to worry at all because now you have the best solutions for yourself.
Yes, from the above-mentioned tricks, you can easily fix 0x80248007 Windows Update Error in Windows 10 even without the need of any technical experts at all.
If you have any questions or suggestions then share them in the comment section mentioned below.

Always up to help others with their PC-related issues, Jack loves to write on subjects such as Windows 10, Xbox, and numerous technical things. In his free time, he loves to play with his dog “Bruno” and hang out with his friends.