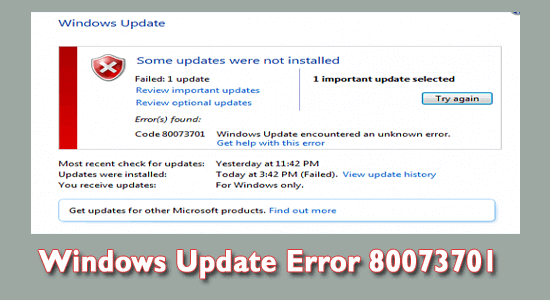
Are you unable to update your Windows 10 or any earlier Windows system and seeing the update error 0x80073701 while trying to update your Windows computer or laptop?
If YES then don’t worry as you can easily deal with this error code 80073701 by following the fixes listed in the article. This error code is very irritating as it appears every time when the user tries to update their computer.
To fix error code 80073701, we recommend Advanced System Repair:
This software is your one stop solution to fix Windows errors, protect you from malware, clean junks and optimize your PC for maximum performance in 3 easy steps:
- Download Advanaced System Repair rated Excellent on Trustpilot.
- Click Install & Scan Now to install & scan issues causing the PC problems.
- Next, click on Click Here to Fix All Issues Now to fix, clean, protect and optimize your PC effectively.
Also, the error code 0x80073701 blocks Microsoft’s cumulative updates, and as a result, users are unable to update their Windows system.
There are various causes that can trigger update error 80073701, like corrupted Windows system and update file, slow internet connection and others.
Luckily, there are many possible solutions that work for many users to solve update error 0x80073701 with ease. So follow the solutions given below one by one:
Let’s get started..!
How Do I Fix Windows Update Error 0x80073701?
Table of Contents
Fix 1 – Run Windows Update Troubleshooter
The Windows Update troubleshooter is designed to troubleshoot the Windows update bugs. It is one of the handy and effective tools to fix the error 0x80073701. In order to run the windows update troubleshooter, follow the below-given steps:
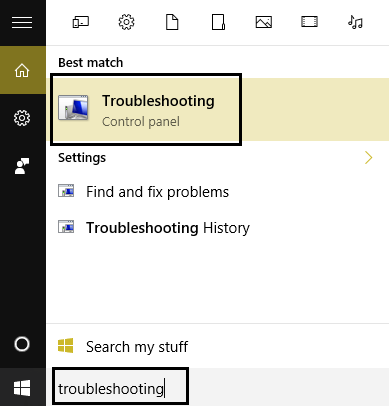
- Go to the search option and search for the ‘troubleshoot’ then click on the Troubleshoot to open Settings.
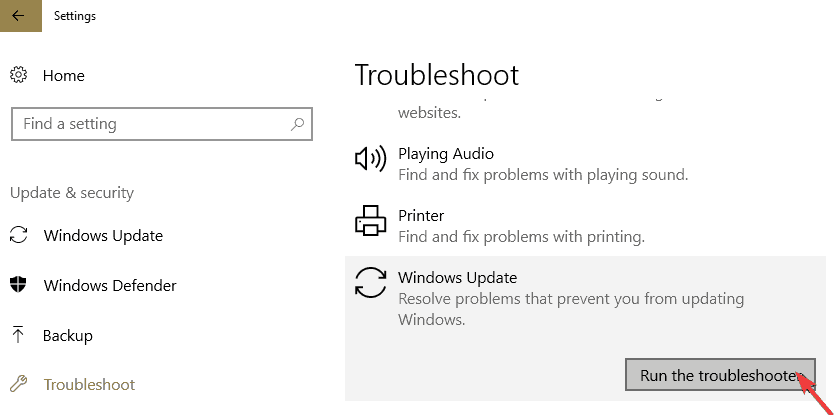
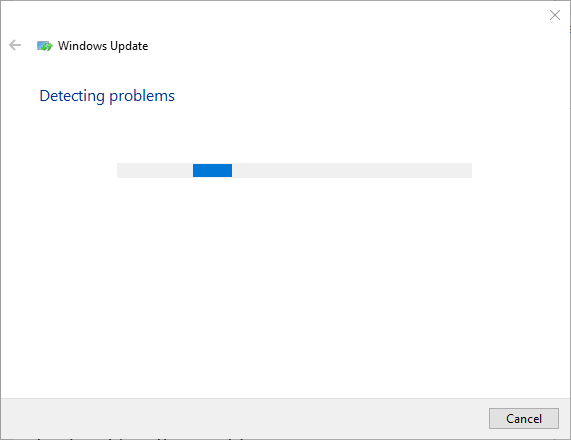
- Choose Windows Update and click on the “Run the troubleshooter” button to open the window below.
- After scanning for the update bugs, the troubleshooter then provides some resolutions. To apply the suggested resolution click on the Apply this fix option.
Fix 2 – Run System File Scans and DISM (Deployment Image Servicing)
Sometimes Windows system starts throwing errors 0x80073701 because of the damaged or corrupted Windows system files.
To fix the damaged system files you can go with the Deployment Image Servicing and Management tool to fix the wim.store.
The SFC command will help you to fix the corrupted system files. Follow the below-given steps to run SFC and DISM commands using the Command Prompt.
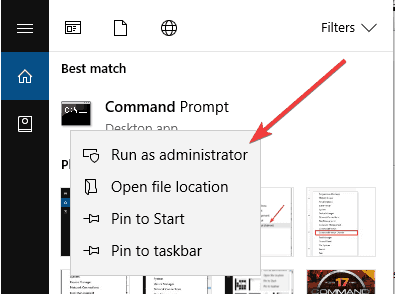
- First of all, you need to open the command prompt with the admin privilege.
- To do this, search for the ‘Command Prompt’ then right-click on the Command Prompt and choose Run as administrator.
- Now, we will run the Deployment Image Servicing and Management utility, type the given command, and press the Enter key to run this command.
DISM.exe /Online /Cleanup-image /Restorehealth
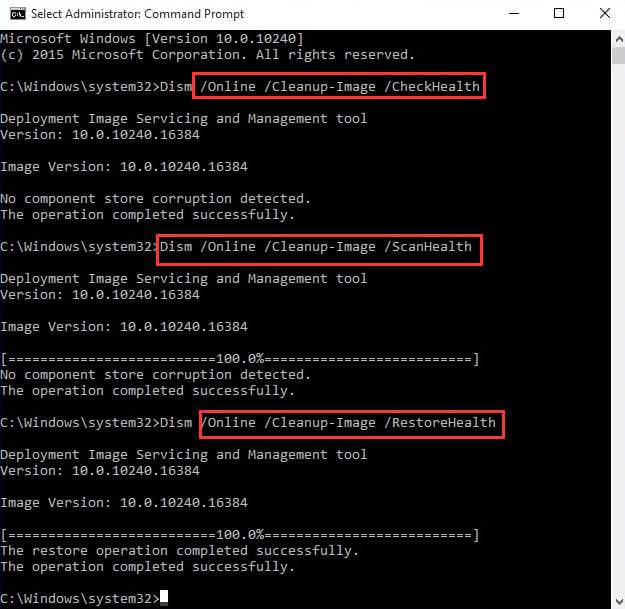
- After executing the DISM command, you need to run the SFC command. To do this, type the given command and press the Enter key to execute it.
sfc /scannow
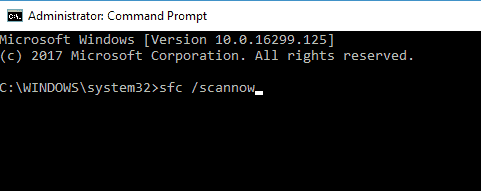 The SFC command might take half an hour.
After the completion of the scanning process, reboot your computer or laptop and check if the error 80073701 in Windows update is resolved or not.
Fix 3 – Reboot Your Windows Update Service
Restarting the Windows Update service might re-initiate the service and fix the Windows Updates failed to install – Error 0x80073701. In order to do this, you have to open the run dialogue box (Press the Windows key + R)
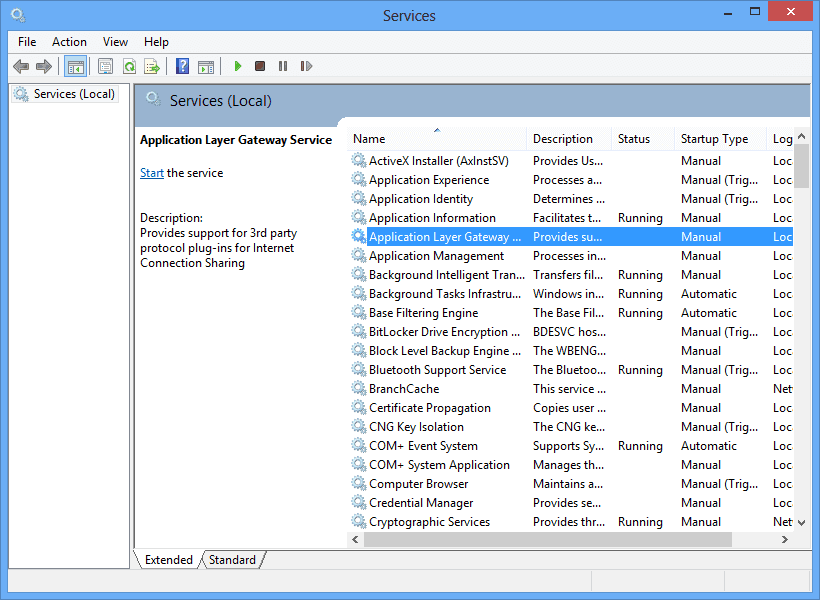
- In the run dialogue box type ‘services’ and click OK. This will open up the service Window.
- Now, in the Service Window scroll down to Windows Update.
- In order to open the window in the snapshot directly, you have to double-click on the Windows Update.
- Here, you have to click on the Stop button and click OK to close the window.
- At last, reboot the Windows Update Service. Right-click on the Windows Update and choose Start to restart it.
Now restart your Windows 10 system and check if the update error 80073701 is fixed or not.
Fix 4 – Reset Windows Update Components
Resetting Windows update components to their default settings works for many users to fix the error 80073701, so if you are still encountering the error then you need to reset the Windows Update components.
To do this, follow the below-given steps carefully,
- Run the Command Prompt with administrator privilege.
- After opening the command prompt, run the following commands one by one (to do this, press the Enter key after each of them).
net stop wuauserv
net stop cryptSvc
net stop bits
net stop msiserver
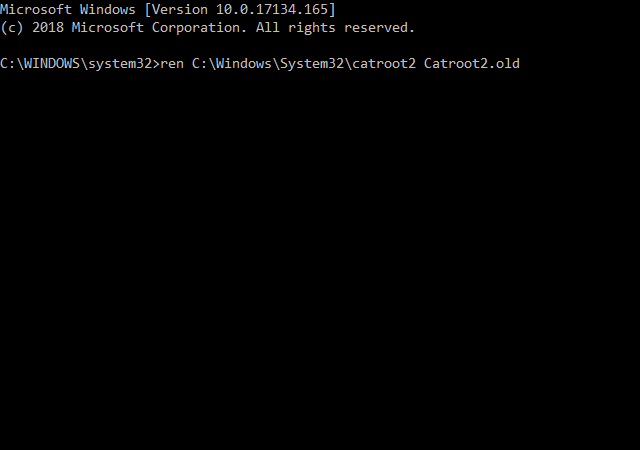
- After it, rename the SoftwareDistribution folder by executing the below-given commands one by one (to do this, press the Enter key after each of them).
ren C:WindowsSoftwareDistribution SoftwareDistribution.old
ren C:WindowsSystem32catroot2 Catroot2.old
C:WindowsSoftwareDistribution SoftwareDistribution.old
Now, we have to reboot the stopped services by running the following commands:
net start wuauserv
net start cryptSvc
net start bits
net start msiserver
At last, exit from the Command Prompt window; restart your desktop and laptop. Check for the problem.
Fix 5 – Verify the Date and Time Settings
According to some users, they solved the error 0x80073701 by verifying the date and time settings in Windows 10.
So, we will try after verifying Windows 10’s date and time. In order to modify the date and time settings apply the below-given steps:
- Go to the search option and search for the ‘date’.
- Choose the Date & time settings.
- Select a time zone on the Time zone drop-down menu.
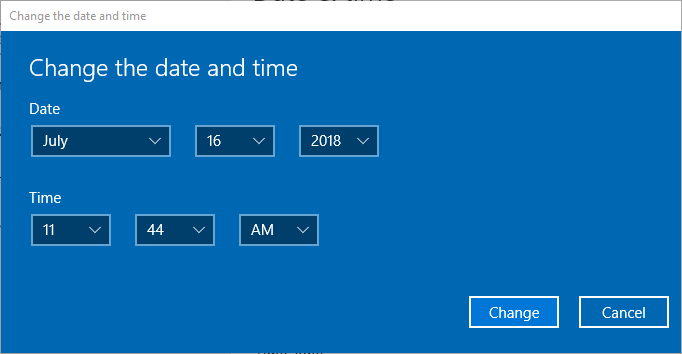
- Toggle the Set the time automatically option to off and press the Change button to manually modify the date and time.

- OR you can also synchronize the clock with the server by clicking on the Add clocks for different time zones.
- Choose the Internet Time tab, and click on the Change settings button.
- After it, choose the Synchronize checkbox and choose a server using the drop-down menu. Click on the Update Now button.
- At last press the OK button to exit from the window.
- Again click Apply then OK buttons.
Check if the error 0x80073701 is fixed or not.
Frequently Asked Questions:
1 - How Do I Fix Error 0x80073701 while installing KB4512508 in Windows 10?
To fix the error 0x80073701 when installing the cumulative update KB4512508 in Windows 10, follow the fixes like:
- Run the Windows update troubleshooter
- Reset Windows Update
- Fix the corrupted Windows system files
- Set the Date and time
- Download the KB4512508 update manually using Update Catalog
2 - What Causes the Windows Update Error 80073701?
There are many reasons responsible for the error 80073701 while trying to update Windows 10.
- Poor internet connection
- Corrupted System files
- Misconfigured or corrupted Windows components
- Virus or malware infection
- If the date and time are not set correctly
3 - How Do I find which Cumulative Update is currently installed on my Windows 10 PC?
To verify the list of installed cumulative updates installed on the system go to the Settings > Update & Security > Windows Update > View update history and look for the update in the list
Best & Easy Solution to Fix Windows Update Error 0x80073701
If the above-listed manual solutions won’t work for you then here it is suggested to run the professional recommended PC Repair Tool.
This is an advanced repair utility that just by scanning once detects and fixes various Windows update errors and other common computer errors and issues.
With this, you can also fix the DLL errors, BSOD errors, Application errors, repair registry entries, prevent virus or malware infection, and much more.
It also optimizes the Windows PC performance by repairing the corrupted Windows system files.
Get PC Repair Tool, to fix Windows error 0x80073701
Conclusion
So, this is all about the Windows update error 0x80073701.
All the above-listed solutions are easy to follow but here it is suggested to follow them one by one and check which one works for you.
I hope the article works for you and you are able to install the update with ease. If you have any comments, suggestions, or queries then feel free to share with us on our Facebook page.
Good Luck

Always up to help others with their PC-related issues, Jack loves to write on subjects such as Windows 10, Xbox, and numerous technical things. In his free time, he loves to play with his dog “Bruno” and hang out with his friends.