Did you discover error 0x80246017 while trying to update your Windows 10 Technical Preview version to the next build? Then read the article to follow the complete fixes to resolve windows update error 0x80246017?
Microsoft launched several updates to make Windows 10 Operating System more advanced and optimized. But, updating Windows 10 or downloading any available update on Windows 10 system is a problematic task.
While updating Windows 10 Computer or Laptop you may face several types of update errors and error 0x80246017 is one of them.
As per the users when they try to install the KB4020102 update the whole process is stuck with an Error Code 0x80246017.
There are many other Windows 10 users facing the same error code while installing the above-mentioned update automatically.
In the case of an automatic update, when the user checks Windows Update history the system display that the KB4020102 update was downloaded but didn’t install properly and the error appears.
If you are also encountering the 0x80246017 error code while updating Windows 10 system to the KB4020102 update or any other update then don’t worry as you can easily deal with this problem by yourself.
Some of the below-given fixes are related to the registry database, so in order to avoid any unwanted modifications on Windows Registry and system’s malfunctions, you should create a backup of your registry database. In order to create Windows Registry backup, perform below given simple steps:
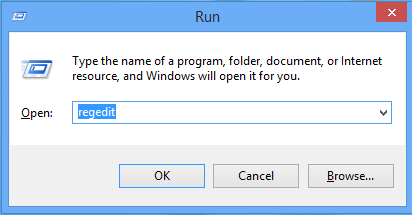
- First of all, you have to open the Run Windows by pressing Windows key + R. After opening the run box, you have to type the “regedit,” and hit the Enter key.
- If any UAC window will appear then click “Yes”.
- The registry window will appear, click on the Registry Keys to create their backup, choose “File” and “Export.”
- You will see the Export Registry File dialog box, here you have to choose the location to which the backup should be saved.
- Now, enter any name for the backup and click on the “Save.”
Now, after backing up the registry, learn how to fix Error Code 0x80246017, and install the Windows 10 update on PC/Laptop.
How Do I Fix Error 0x80246017 in Windows 10?
Table of Contents
Solution 1: Completely Erase Previous Windows Installation Files
In order to get rid of the 0x80246017 error that you are facing while the upgrade process then, apply the below-given steps:
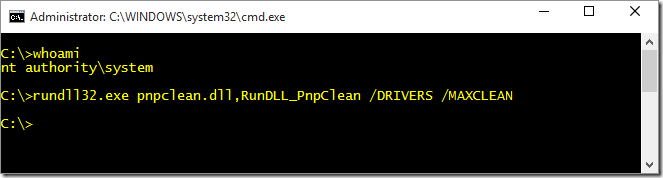
- Open the command prompt with the admin privilege, to do this right-click on the “Windows key” and choose the “Command Prompt (Admin).”

- In the command window, type the below-given command and hit the “Enter” key.
-
- rundll32.exe pnpclean.dll,RunDLL_PnpClean /DRIVERS /MAXCLEAN
- Now, exit from the command prompt by typing the exit command
- After it, open the Search option and search for the disk cleanup and select the Disk Cleanup tool from the search result.
- With the help of this tool, you have to erase “Temporary files” and “Previous Windows Installations.”
- After doing this, restart your system.
Now check if the Windows update error 0x80246017, is fixed or not, if not then follow the next solution.
Solution 2: Reset Several Important Registry Keys
- Again you have to open the registry window, open the run dialogue box (press Windows + R) and enter the “regedit,” then hit the “Enter” button.
- Now, after opening the registry editor Window you should navigate to the HKEY_LOCAL_MACHINE\SOFTWARE\Microsoft\WindowsSelfHost\Applicability

- Find the BranchName key on it and make sure if it appears the FBL_AWESOME1501 If it does not display it, modify it.
- After it, you have to search the TresholdRiskLevel key and modify its value to low.
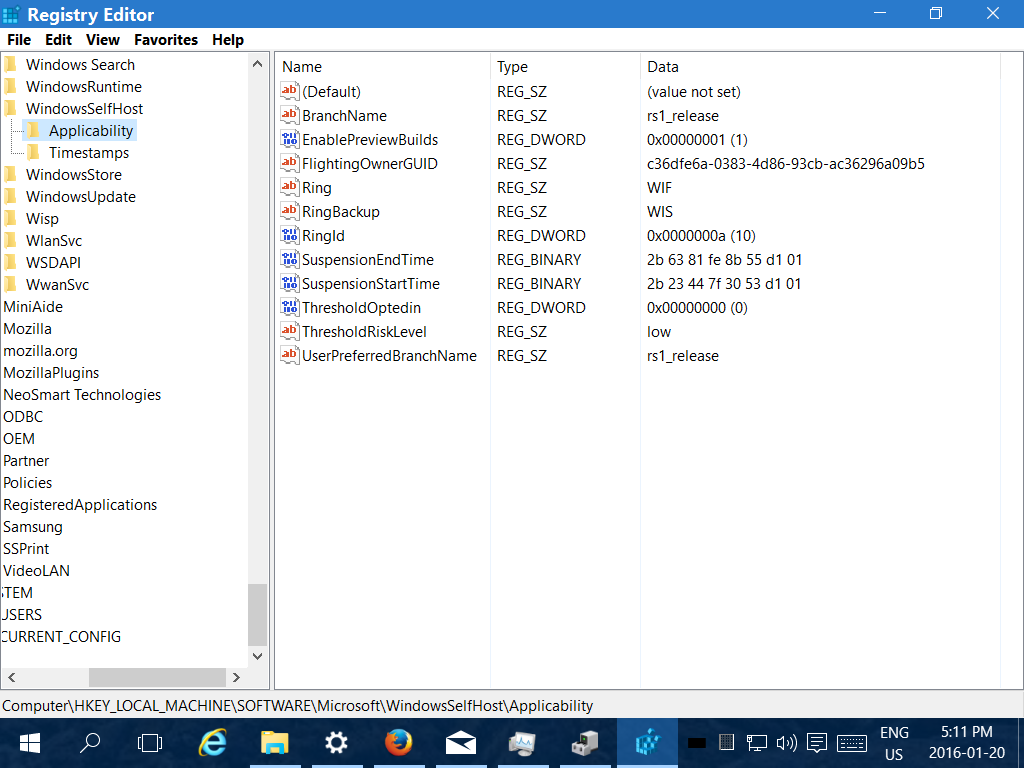

- Again, find the TresholdInternal and TresholdOptedIn Delete both of them.
- At last, you have to close the Registry Editor Windows and restart your PC/Laptop.
Hope now the error code 0x80246017 is fixed but if not then follow the solutions given
Solution 3: Delete Windows.old Folder in Windows 10
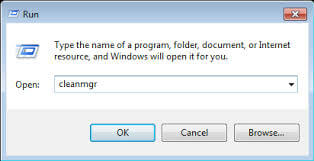
- Open the run box by pressing the Windows + R keys, then enter cleanmgr in the box and hit the Enter key.
- Now, you have to right-click on the clean manager and choose the “Run as administrator“.
- This process will take a few minutes to calculate the disk space wait until it’s over.
- Now, navigate to the last of the options list by scrolling down and search for the Previous Windows installation(s) option. Here, you have to tick-mark the Previous Windows installation(s) option and click on the OK button.
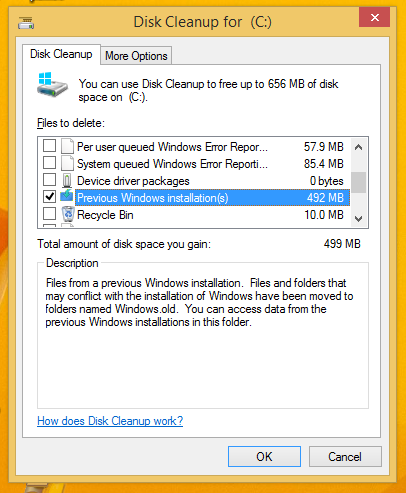
- If you want to delete Windows.old folder then you have to face NTFS access rights issues, that’s why deleting the previous version of Windows via the inbuilt Disk Cleanup application is recommended because it can easily solve the NTFS access right issue.
At last, reboot your PC or Laptop and try to update it again.
Solution 4: Run the Update Troubleshooter
If you are still encountering the Windows update error 0x80246017, then here it is suggested to run the inbuilt Windows Update troubleshooter. This is designed to fix Windows update related errors.
Follow the steps to do so:
- First, click on the Start button> open Settings
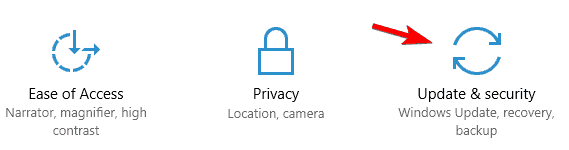
- Now from the Windows Settings > choose the Update & Security
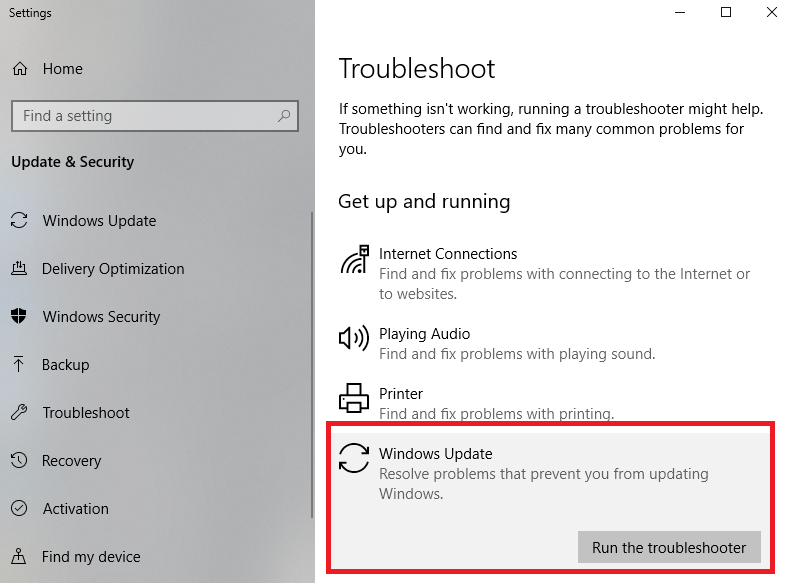
- And go to the Troubleshoot > then Windows Update section
- Next click on the Run the troubleshooter.
- Wait for the scanning process to complete
And as it is completed restart your computer and try installing the update again to check if the Windows 10 update error 0x80246017, is fixed or not.
Solution 5: Disable third-party antivirus
Check if you have installed the third-party antivirus then this is what caused the update error 0x80246017 in Windows 10.
Many times the antivirus program installed on your system infiltrate the user system and also conflict with the latest update and due to this, you may encounter the error.
So, the best way is to disable the antivirus and then try to install the latest Windows 10 update.
Best and Easy Solution to Fix Windows Update Error 0x80246017
If after following the given manual solutions you are still encountering the error 0x80246017 while installing the latest Windows update then feel free to try running the PC Repair Tool.
For this, first, you need to install this on your computer and let this tool scan your entire computer to detect and fix the issue.
This tool is developed by expert professionals in order to resolve most of the PC’s common issues users encounter in day to day life.
It fixes DLL, registry, game, applications, BSOD errors, repairs damaged files, keeps your PC secure from viruses, optimizes your PC for better performance, and much more. Also, the interface of this tool is very easy to use.
Get PC Repair Tool to Fix Windows 10 Error 0x80246017
Conclusion
It is estimated the listed solution works for you to fix the Windows update error 0x80246017.
I tried my best to list down the complete solutions to deal with the error 0x80246017 in Windows 10 and install the update with ease.
Make sure to follow the solutions given one by one carefully.
It is estimated the article works for you and you are able to install the update with ease.
Hardeep has always been a Windows lover ever since she got her hands on her first Windows XP PC. She has always been enthusiastic about technological stuff, especially Artificial Intelligence (AI) computing. Before joining PC Error Fix, she worked as a freelancer and worked on numerous technical projects.